There is an example of painting process for the oilpainting 50x60. The painting is called The Magic Spring.

The Magic Spring in Time


There is an example of painting process for the oilpainting 50x60. The painting is called The Magic Spring.

Full installation process of gentoo from chroot command. With all problems and solving which was included. The history includes installation of xfce4 with all deps and plugins, atom, kitty, alacritty, and several other apps.
In addition, there is a zip file for settings of portage.
https://wiki.gentoo.org/wiki/Handbook:AMD64
https://wiki.gentoo.org/wiki/Gentoo_Cheat_Sheet
https://wiki.gentoo.org/wiki/Layman
    1  source /etc/profile
    2  export PS1="(chroot) ${PS1}"
    3  mount /dev/sdb1 /boot
    4  emerge-webrsync
    6  eselect news read | less
    7  emerge --sync
    8  eselect profile list
    9  eselect profile set 5 (default/linux/amd64/17.1/desktop)
   10  eselect profile list
   12  emerge --info | grep ^USE
   14  emerge --ask --verbose --update --deep --newuse @world
   15  etc-update
   problem with circle dependencies in the default/linux/amd64/17.1/desktop
   19  USE="-harfbuzz" emerge -l virtual/libintl app-arch/bzip2 virtual/libiconv media-libs/libpng dev-libs/lipcre media-libs/freetype media-gfx/graphite2 sys-apps/util-linux dev-libs/glib media-libs/harfbuzz --nodeps
   20  USE="-harfbuzz" emerge -l virtual/libintl app-arch/bzip2 virtual/libiconv media-libs/libpng dev-libs/libpcre media-libs/freetype media-gfx/graphite2 sys-apps/util-linux dev-libs/glib media-libs/harfbuzz --nodeps
   21  USE="-harfbuzz" emerge -l virtual/libintl app-arch/bzip2 virtual/libiconv media-libs/libpng dev-libs/libpcre media-libs/freetype sys-apps/util-linux dev-libs/glib media-libs/harfbuzz --nodeps
   22  USE="-harfbuzz" emerge -l virtual/libintl app-arch/bzip2 virtual/libiconv media-libs/libpng dev-libs/libpcre media-libs/freetype sys-apps/util-linux media-libs/harfbuzz --nodeps
   23  emerge -l media-libs/freetype media-libs/harfbuz
   24  emerge -l media-libs/freetype media-libs/harfbuzz
   25  emerge --ask --verbose --update --deep --newuse @world
   28  qlist -I | less
   29  ls /usr/share/zoneinfo
   30  echo "Europe/Prague" > /etc/timezone
   31  emerge --config sys-libs/timezone-data
   37  nano -w /etc/locale.gen
   38  locale-gen
   39  eselect locale list
   40  eselect locale set 4
   41  eselect locale list
   43  nano /etc/env.d/02locale
   44  env-update && source /etc/profile && export PS1="(chroot) ${PS1}"
   45  emerge --ask sys-kernel/genkernel
   46  portageq envvar ACCEPT_LICENSE *
   47  nano /etc/portage/make.conf
   48  emerge --ask sys-kernel/genkernel
   49  eselect news read | less
   50  nano -w /etc/fstab
   51  genkernel all
   52  emerge --ask sys-kernel/gentoo-sources
   53  ls -l /usr/src/linux
   54  eselect kernel list
   55  eselect kernel set 1
   56  ls -l /usr/src/linux
   57  genkernel all
   58  ls /boot/vmlinu* /boot/initramfs*
   59  nano -w /etc/fstab
   60  nano -w /etc/conf.d/hostname
   61  nano -w /etc/conf.d/net
   62  emerge --ask --noreplace net-misc/netifrc
   63  nano -w /etc/conf.d/net
   64  ip a
   65  nano -w /etc/conf.d/net
   66  cd /etc/init.d
   67  ln -s net.lo net.enp6s0
   68  rc-update add net.enp6s0 default
   69  nano -w /etc/hosts
   70  emerge --ask sys-apps/pcmciautils
   73  nano -w /etc/security/passwdqc.conf
   74  passwd
   75  nano -w /etc/rc.conf
   76  cat /etc/conf.d/keymaps
   77  emerge --ask app-admin/sysklogd
   78  rc-update add sysklogd default
   79  emerge --ask sys-process/cronie
   80  rc-update add cronie default
   81  rc-update add sshd default
   82  emerge --ask net-misc/dhcpd
   83  emerge --ask net-misc/dhcpcd
   84  emerge --ask --verbose sys-boot/grub:2
   85  echo 'GRUB_PLATFORMS="efi-64"' >> /etc/portage/make.conf
   86  emerge --ask --verbose sys-boot/grub:2
   87  emerge --ask --update --newuse --verbose sys-boot/grub:2
   88  grub-install --target=x86_64-efi --efi-directory=/boot
   89  grub-mkconfig -o /boot/grub/grub.cfg
   90  exit
   91  nano -w /etc/fstab
   92  reboot
   93  ping google.com
   95  shutdown -r now
   96  poweroff
   98  useradd -m -G users,wheel,audio -s /bin/bash box
   99  passwd box
  100  startx
  101  emerge --pretend --verbose x11-base/xorg-drivers
  102  emerge --pretend --verbose app-editors/neovim
  103  nano -w /etc/portage/package.accept_keywords
  104  emerge --pretend --verbose app-editors/neovim
  105  FEATURES="test" emerge --pretend --verbose app-editors/neovim
  106  nano -w /etc/portage/package.accept_keywords
  107  nano -w /etc/portage/package.accept_keywords
  108  emerge --pretend --verbose app-editors/neovim
  109  nano /etc/portage/make.conf
110 emerge...This article discusses the steps required for moving an Arch Linux system to new hardware. The goal is to achieve the same ArchLinux installation, in terms of the installed software and configuration that is independent of the hardware.
Warning: Some of the following instructions can be dangerous: you are advised to backup all of your important data on the old system before continuing.
There are two different approaches to migrating an installation:
The top to bottom approach gives a more exact reproduction of the original system than the bottom to top approach. In other hand, the bottom to top is much more clean and bound to new hardware. This article will describe bottom to top.
There are two options according this article Base Arch Article for migration
I'm using backup my .dotfiles on gihub now: .dotfiles
So, the easier and cleaner way is process bottom to top for me.
For some stations, I have backup of whole filesystem periodically synchronized to backup repositories by restic. In this case, it is possible to use top to bottom process with restic restore.
Restic store/restore is described in another guide, and it will be part of next article. This migration will be done with bottom to top process with restore packages and .dotfiles.
Warning: For both approaches we have to account for differences between the old and hardware and change the installed drivers and configuration accordingly.
Before you begin, research aspects of the new hardware and make a list of differences. Common differences are
See the article SSD.
If you switch the CPU, to a CPU from another vendor (e.g. Intel to AMD), change the Microcode configuration.
If you changed the GPU to a GPU from another vendor (e.g. from Amd to NVIDIA) change the graphics driver.
If you switch to a more recent mainboard with UEFI, it might be preferable or required to switch from "MBR boot code" booting to UEFI booting. In this case a new EFI system partition is needed.
We define here a minimal configuration that carries over from the old to the new system which differentiates this approach from the Installation guide. Think about the configuration files from /etc and dotfiles in /home that you want to copy to the new system, as well as user data files. If you will not have access to the old system from the new system then backup up all the files that you want to copy over.
pacman -Qqen > pkglist.txt...The article describes installation process of pass zx2c4 and browser intergration passFF from WSL2 on Windows platform. This approach can ensure correct structure of password storage which can include chars which are not possible use in the filename system on windows. There are much more several reasons why handle pass inside the WSL Linux system and externalize just connection to passFF and external calling by wsl pass command.
Windows:
install WSL2 Ubuntu 20.04 LTS in powershell:
Enable-WindowsOptionalFeature -Online -FeatureName Microsoft-Windows-Subsystem-Linux
choco install wsl-ubuntu-2004
start and update ubuntu 20.04, sudo apt update, sudo apt upgrade
Change distribution by WSL commands:
https://docs.microsoft.com/en-us/windows/wsl/wsl-config
wsl -l
wsl -s Ubuntu-20.04
wsl lsb_release -a
WSL:
Install pass and your linux storage in wsl:
sudo apt install pass git qrencode xclipImport your gpg keys:
gpg --import /mnt/c/Users/user/Downloads/privkey.asc
gpg --import /mnt/c/Users/user/Downloads/gpg-public.key
change trust to ultimate (necessary for pass):
gpg --edit-key <KEY-ID>
type cmds: trust, choose 5, Y/save, quit
Clone your password-store git to new destination:
git clone ssh://git@<SERVER>:<PORT>/<PSSWORD-STORE-PROJECT>.git ~/.password-storeor create new one password-storage by standard commands:
pass init
pass git init
pass git remote add origin ssh://git@<SERVER>:<PORT>/<PSSWORD-STORE-PROJECT>.git
Sign and push supports settings:
pass git config --global user.email "<YOUR-EMAIL>"
pass git config --global user.name "<YOUR-NAME>"
pass git config --global user.signingkey <YOUR-GPG-KEY-ID>
Finally, test it from powershell or cmder:
wsl passfrom WSL:
curl -sSL github.com/passff/passff-host/releases/latest/download/install_host_app.sh | bash -s -- firefox
curl -sSL github.com/passff/passff-host/releases/latest/download/install_host_app.sh | bash -s -- chrome
FYI the are installed to:
/home/<user>/.mozilla/native-messaging-hosts
/home/<user>/.config/google-chrome/NativeMessagingHosts
And on Windows, install passff-host too!
git clone git@github.com:passff/passff-host.git
c:\Users\<user>\git\github\passff-host\src\install_host_app.bat firefox --local
c:\Users\<user>\git\github\passff-host\src\install_host_app.bat chrome --localThere is problem that external commands from windows cannot show passphrase dialog which is inside the wsl, if the command line is not started.
So, you can change the ttl time to 8h:
In your ~/.gnupg/gpg-agent.conf file, add the following:
default-cache-ttl 28800
max-cache-ttl 28800
Clear cache for fast testing: gpg-connect-agent reloadagent /bye
Usage the pinentry from several ways. There is just one example with very nice small git project with powershell dialog.
https://github.com/diablodale/pinentry-wsl-ps1
TRICK! Use git clone command not from Windows! but from linux path, because it keeps correct EOL etc.
It means: git clone https://github.com/diablodale/pinentry-wsl-ps1 /mnt/c/Users/<user>/git/github/pinentry-wsl-ps1
in ~/.gnupg/gpg-agent.conf add line:
pinentry-program /mnt/c/Users/<user>/git/github/pinentry-wsl-ps1/pinentry-wsl-ps1.shNow needs hack, because "wsl" command cannot be started from passff-host, direct full path has to be used instead of wsl command!
So, edit passff.bat in installed folder:
c:\Users\<user>\AppData\Roaming\passff\passff.bat Change content by calling directly ubuntu 20.04, python3 inside and your internal passff.py which see the internal pass.
Content of c:\Users\<user>\AppData\Roaming\passff\passff.bat (firefox passff variant):
@ECHO OFF
"C:\Users\<user>\AppData\Local\Microsoft\WindowsApps\ubuntu2004.exe" run "/usr/bin/python3" "/home/<user>/.mozilla/native-messaging-hosts/passff.py" %*
Finally:
Install Passff extension for your Firefox.
Test it!
DONE!
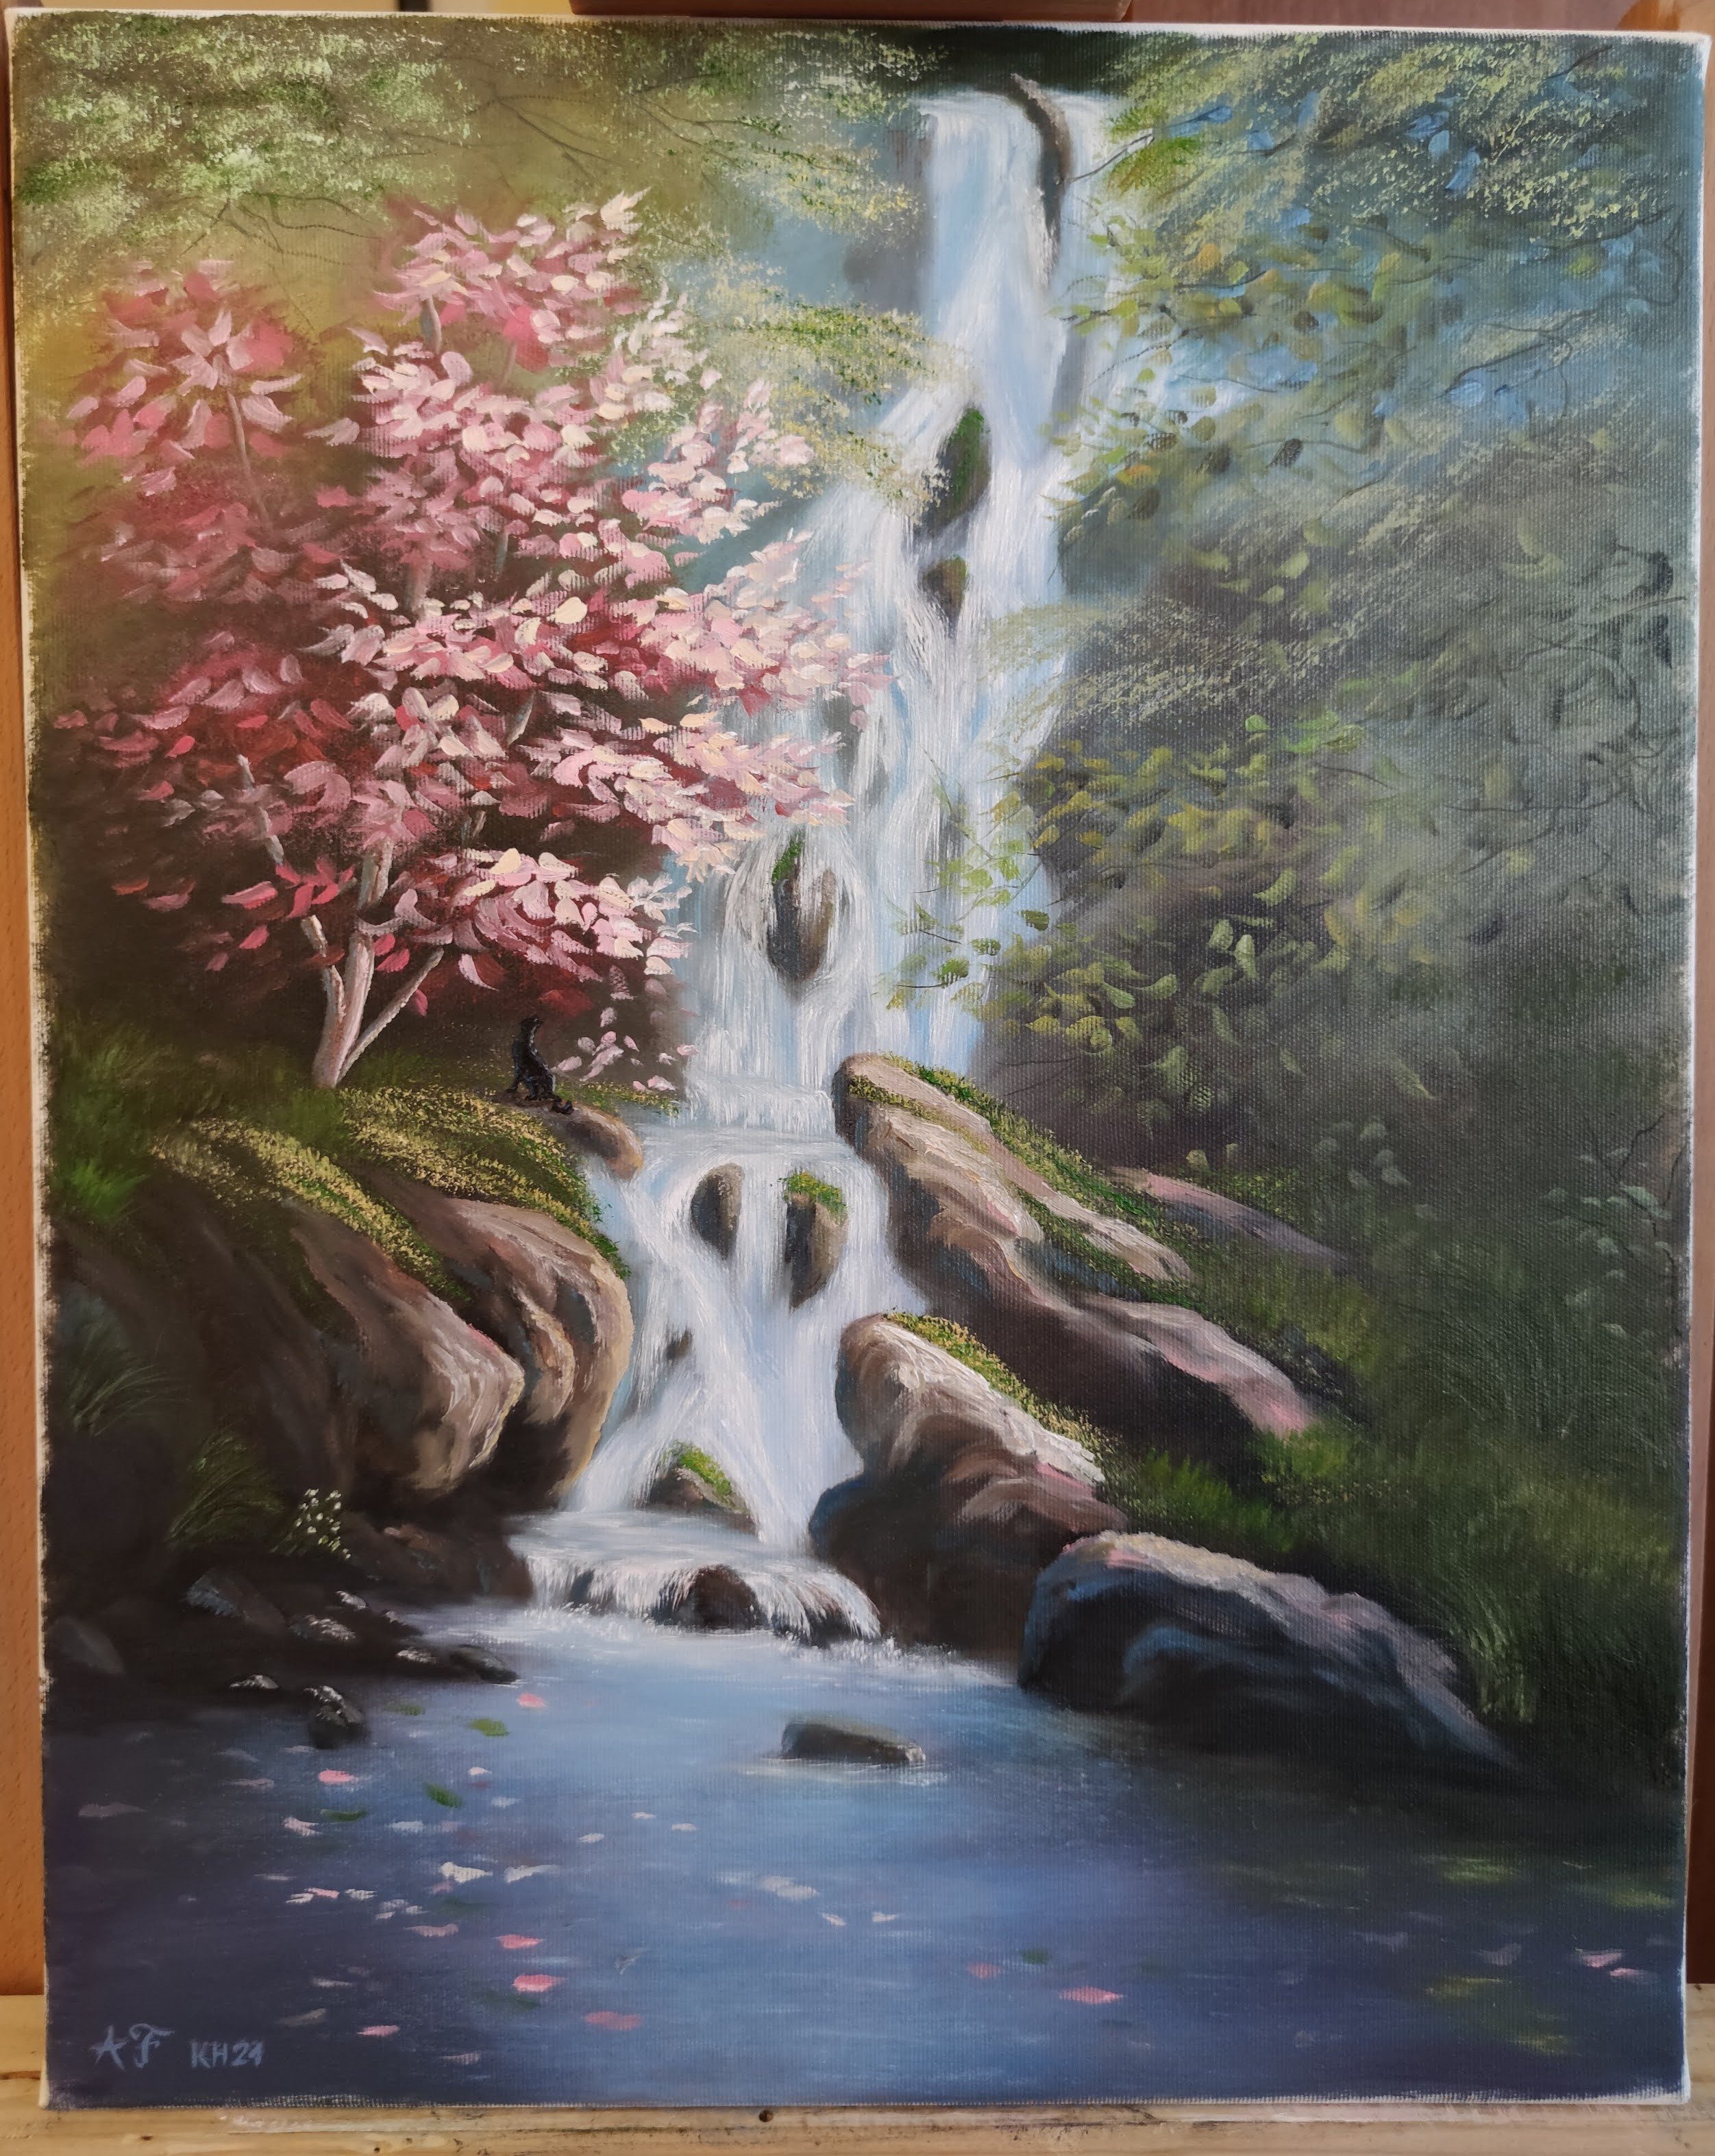
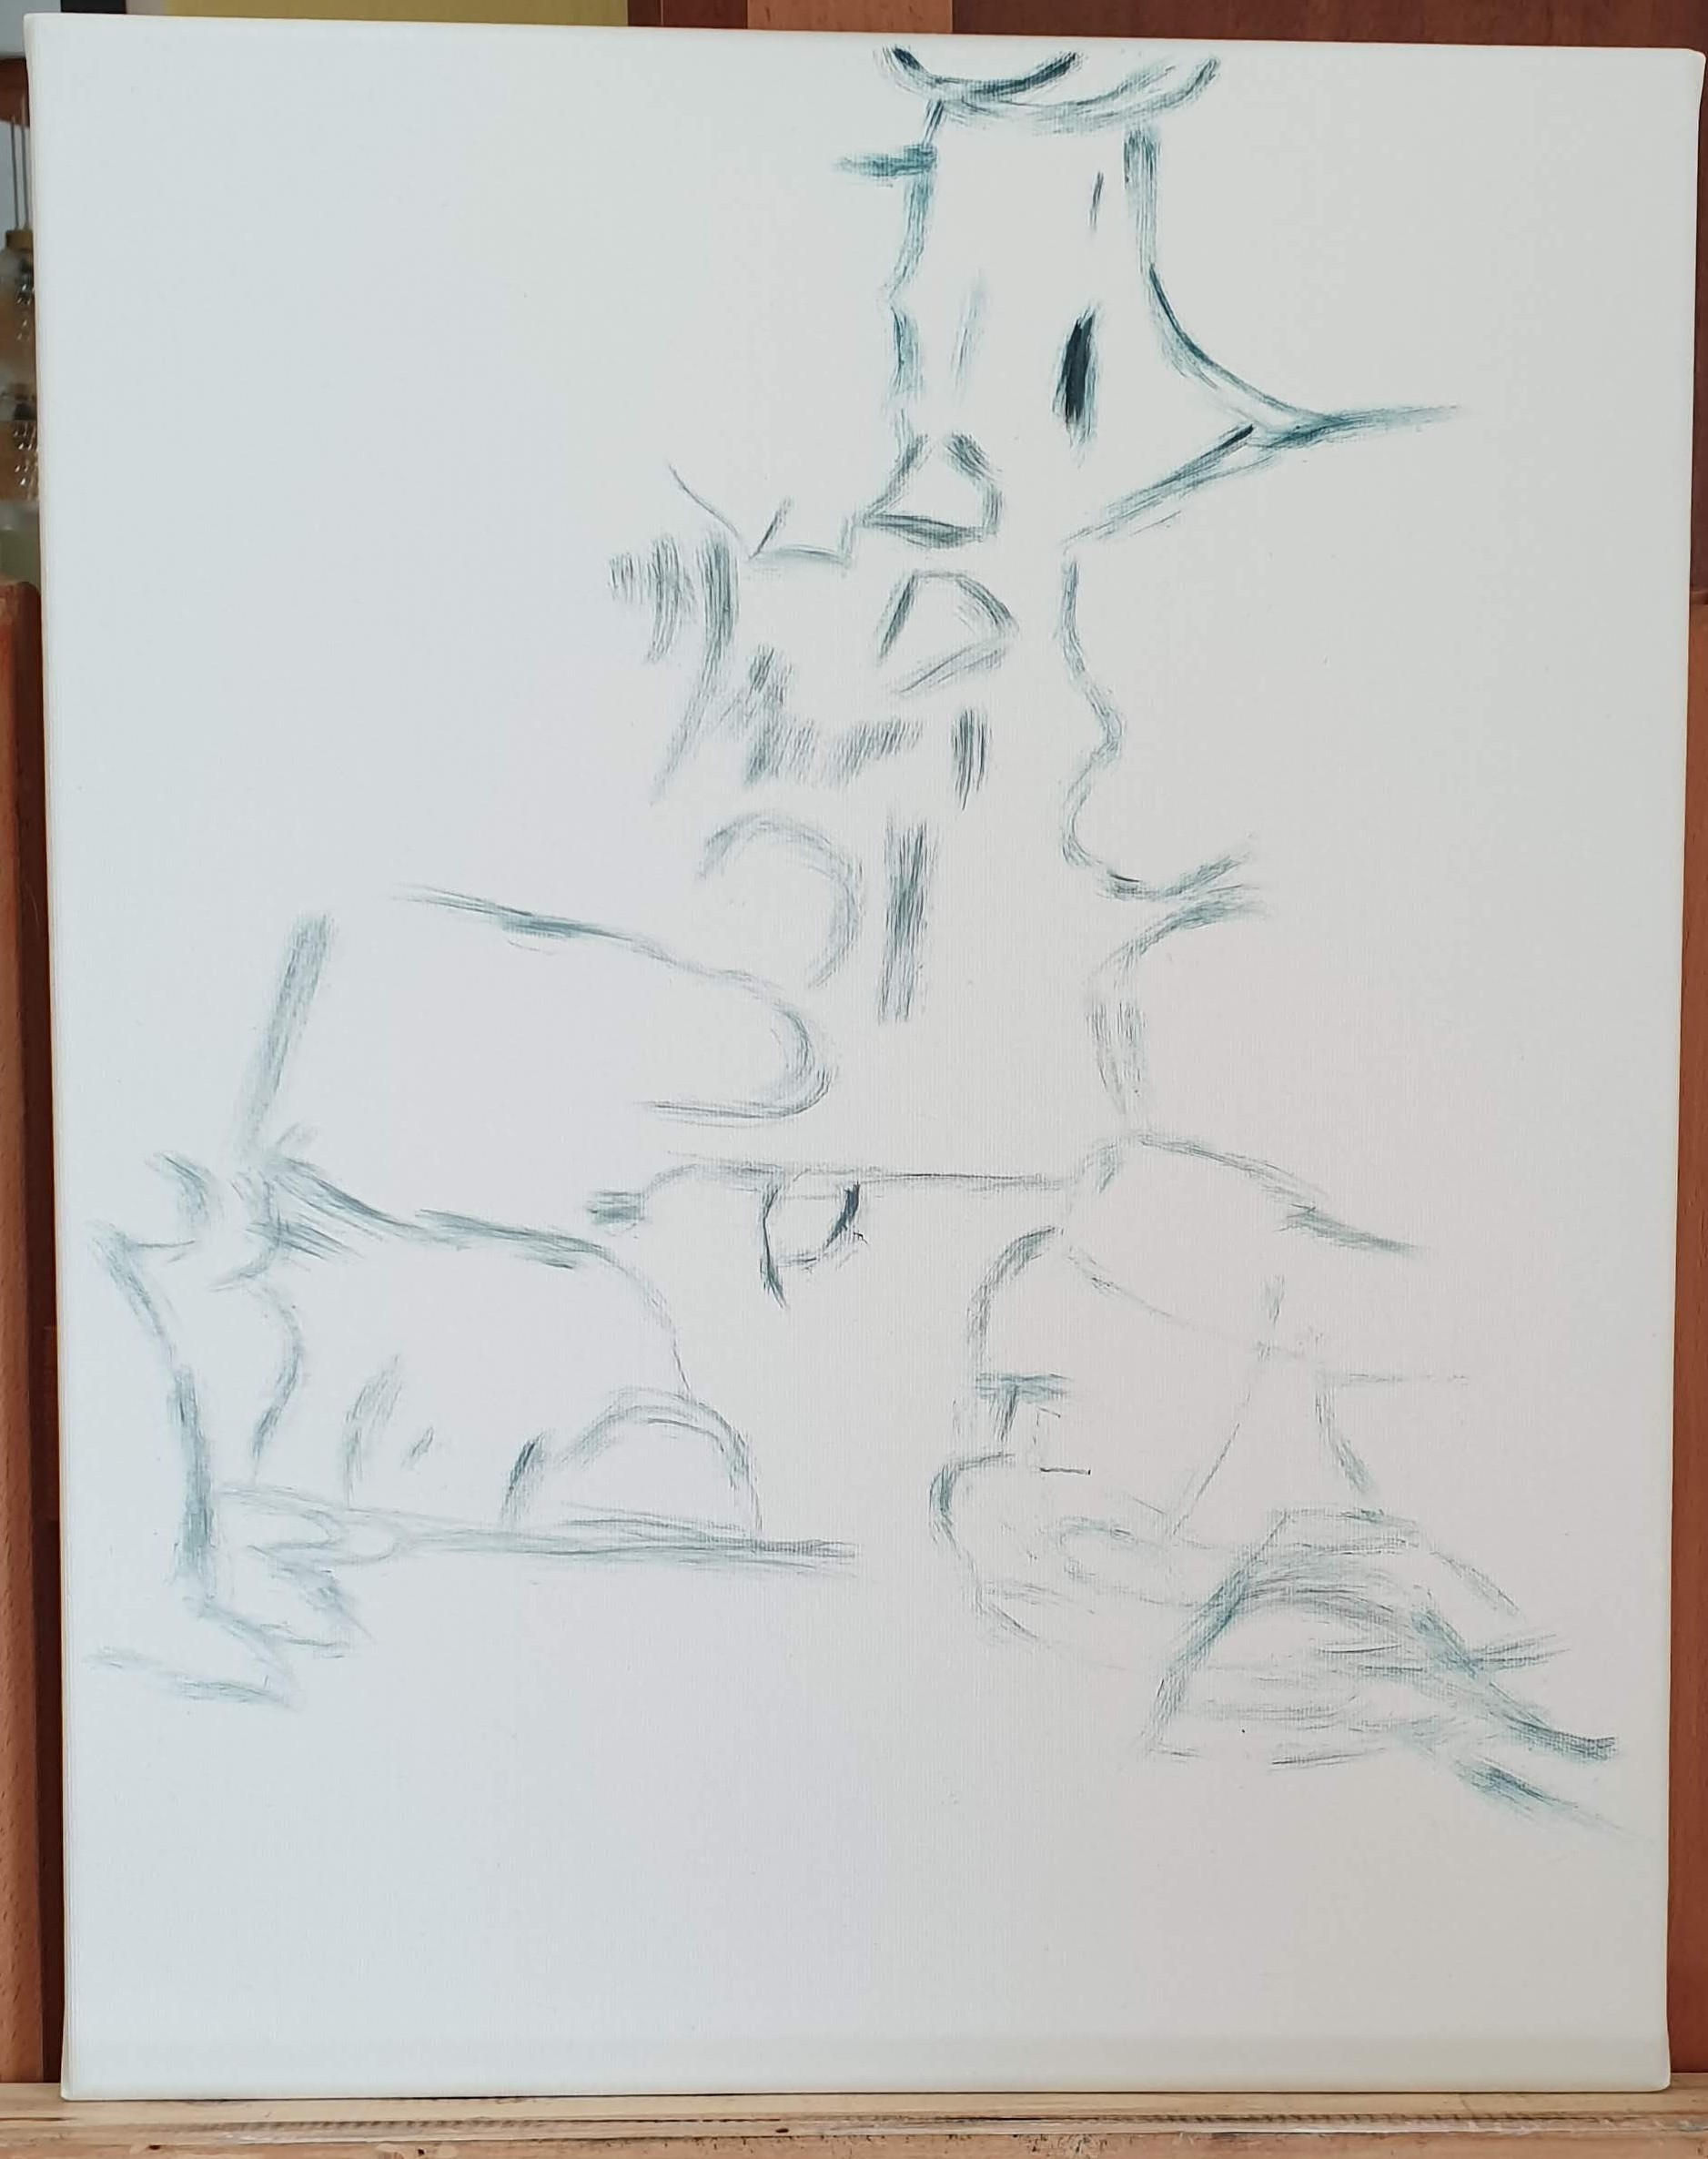
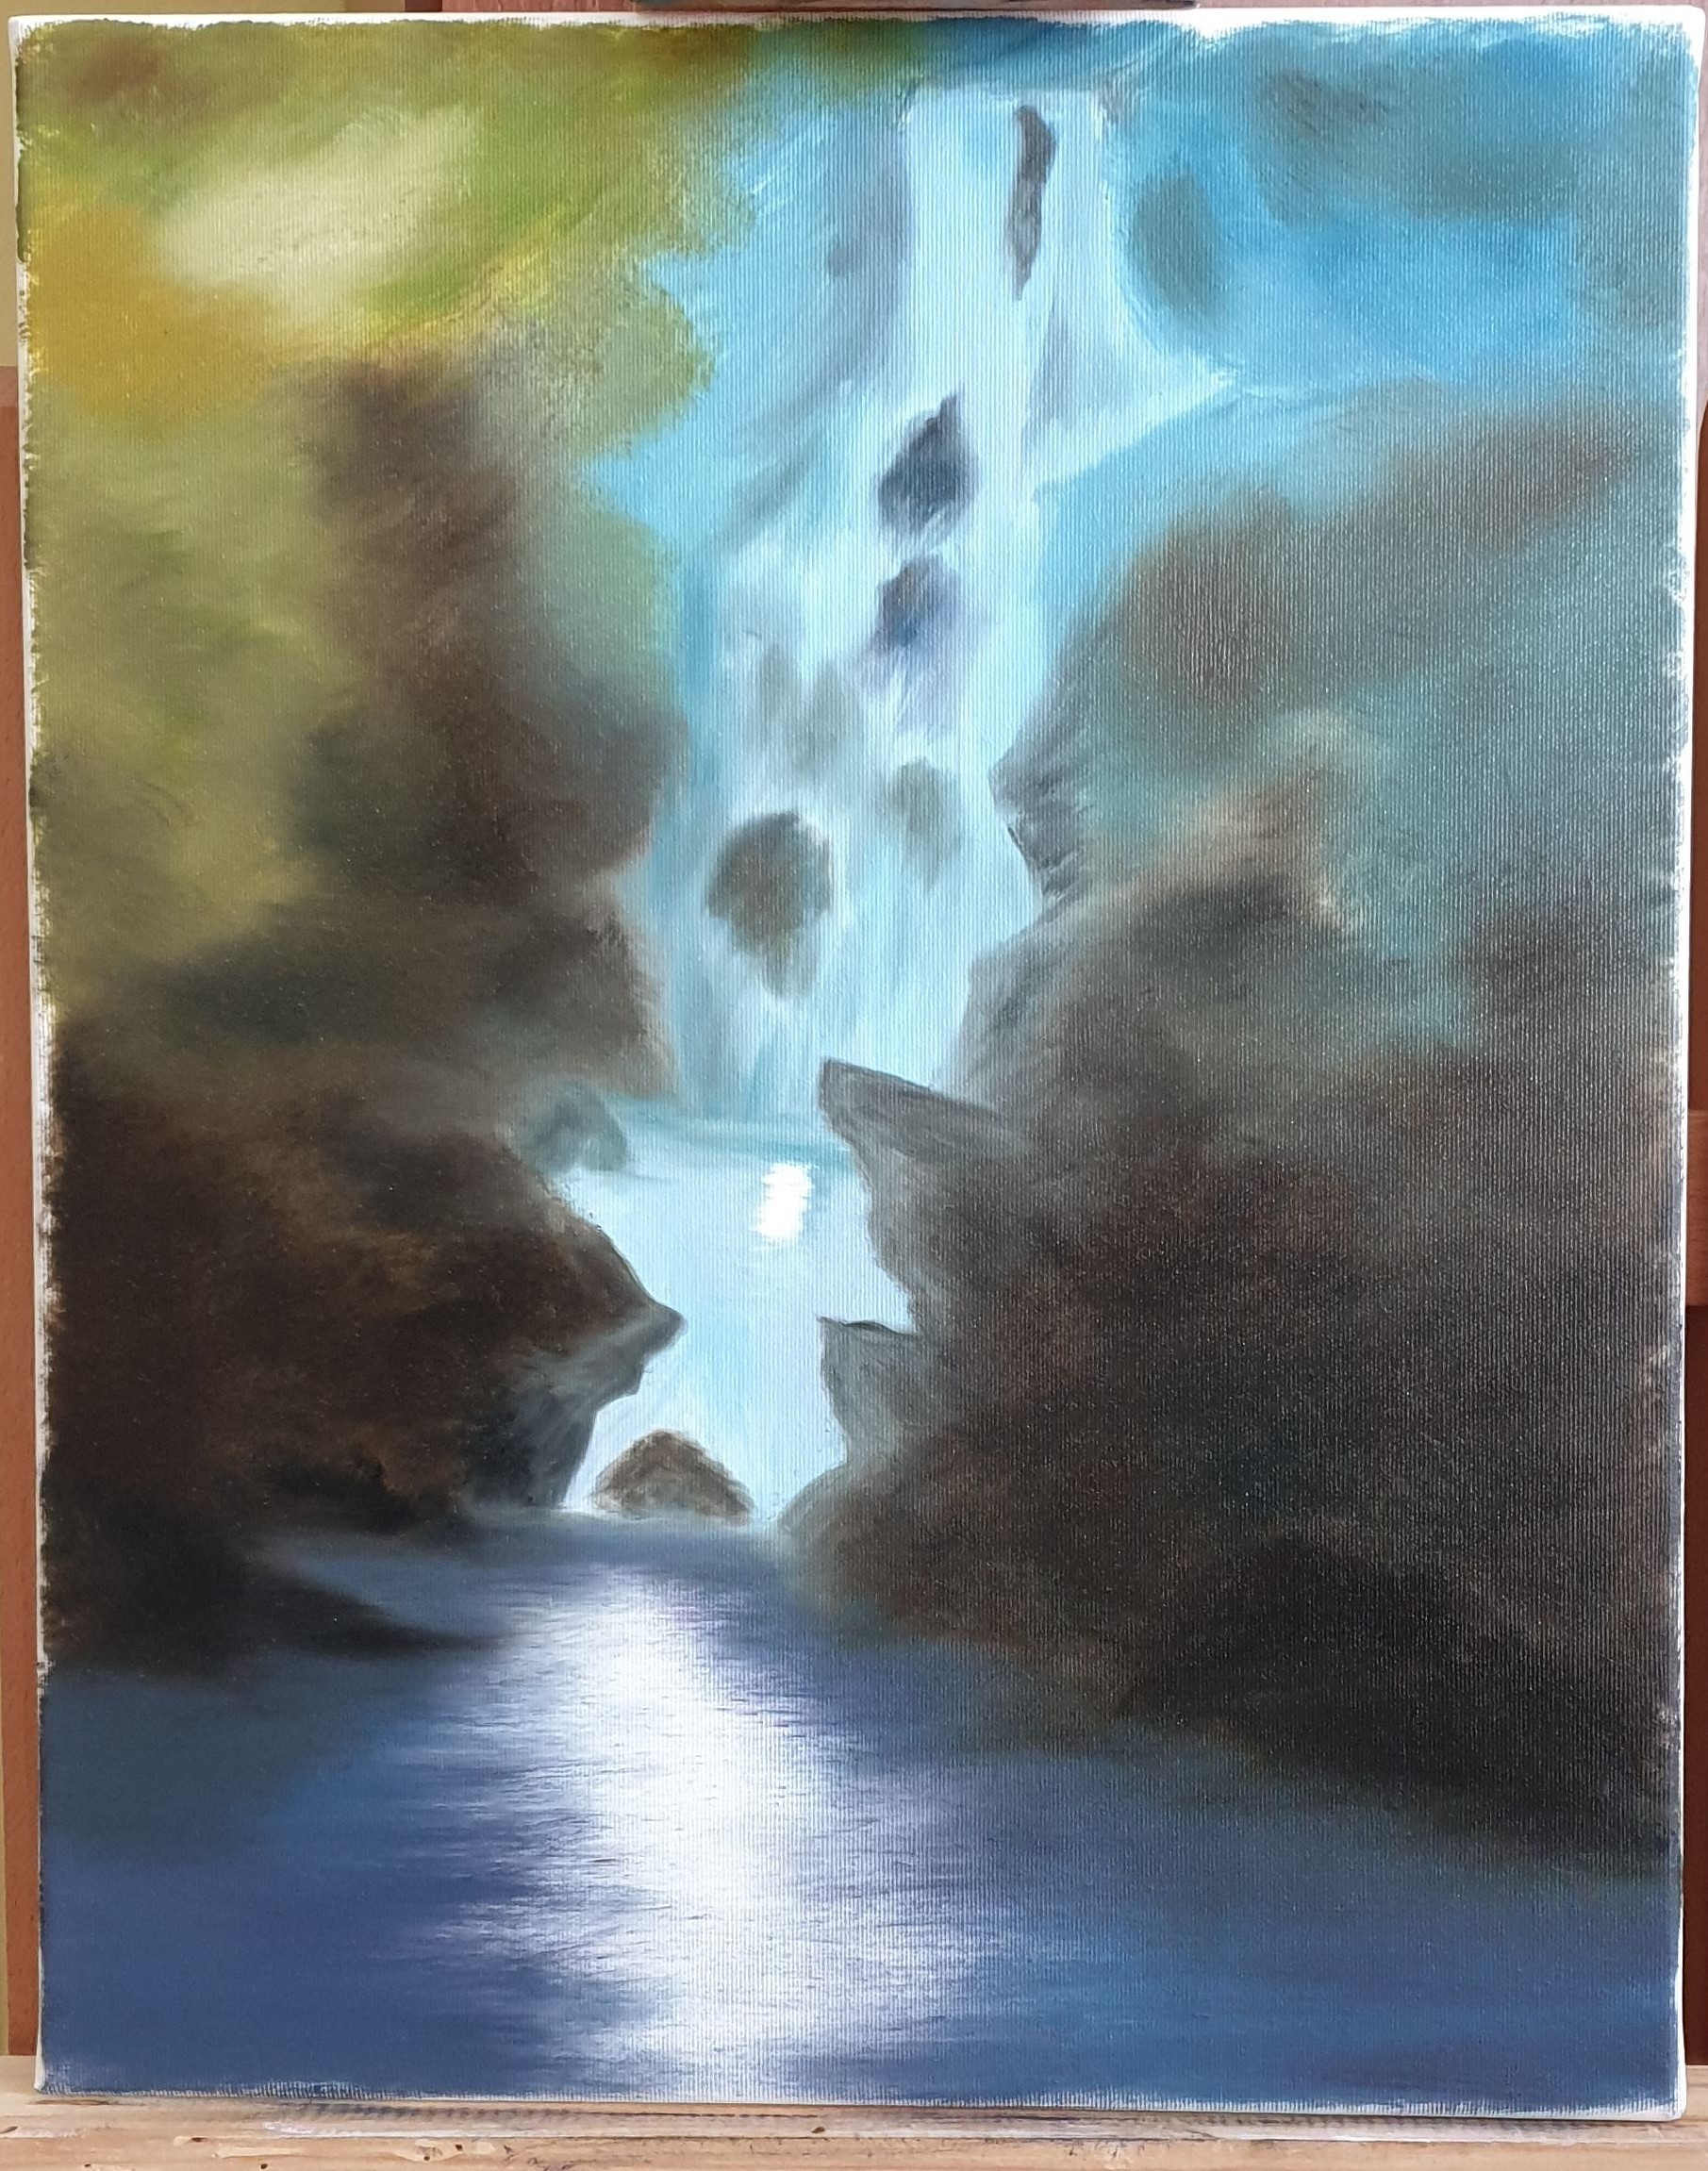
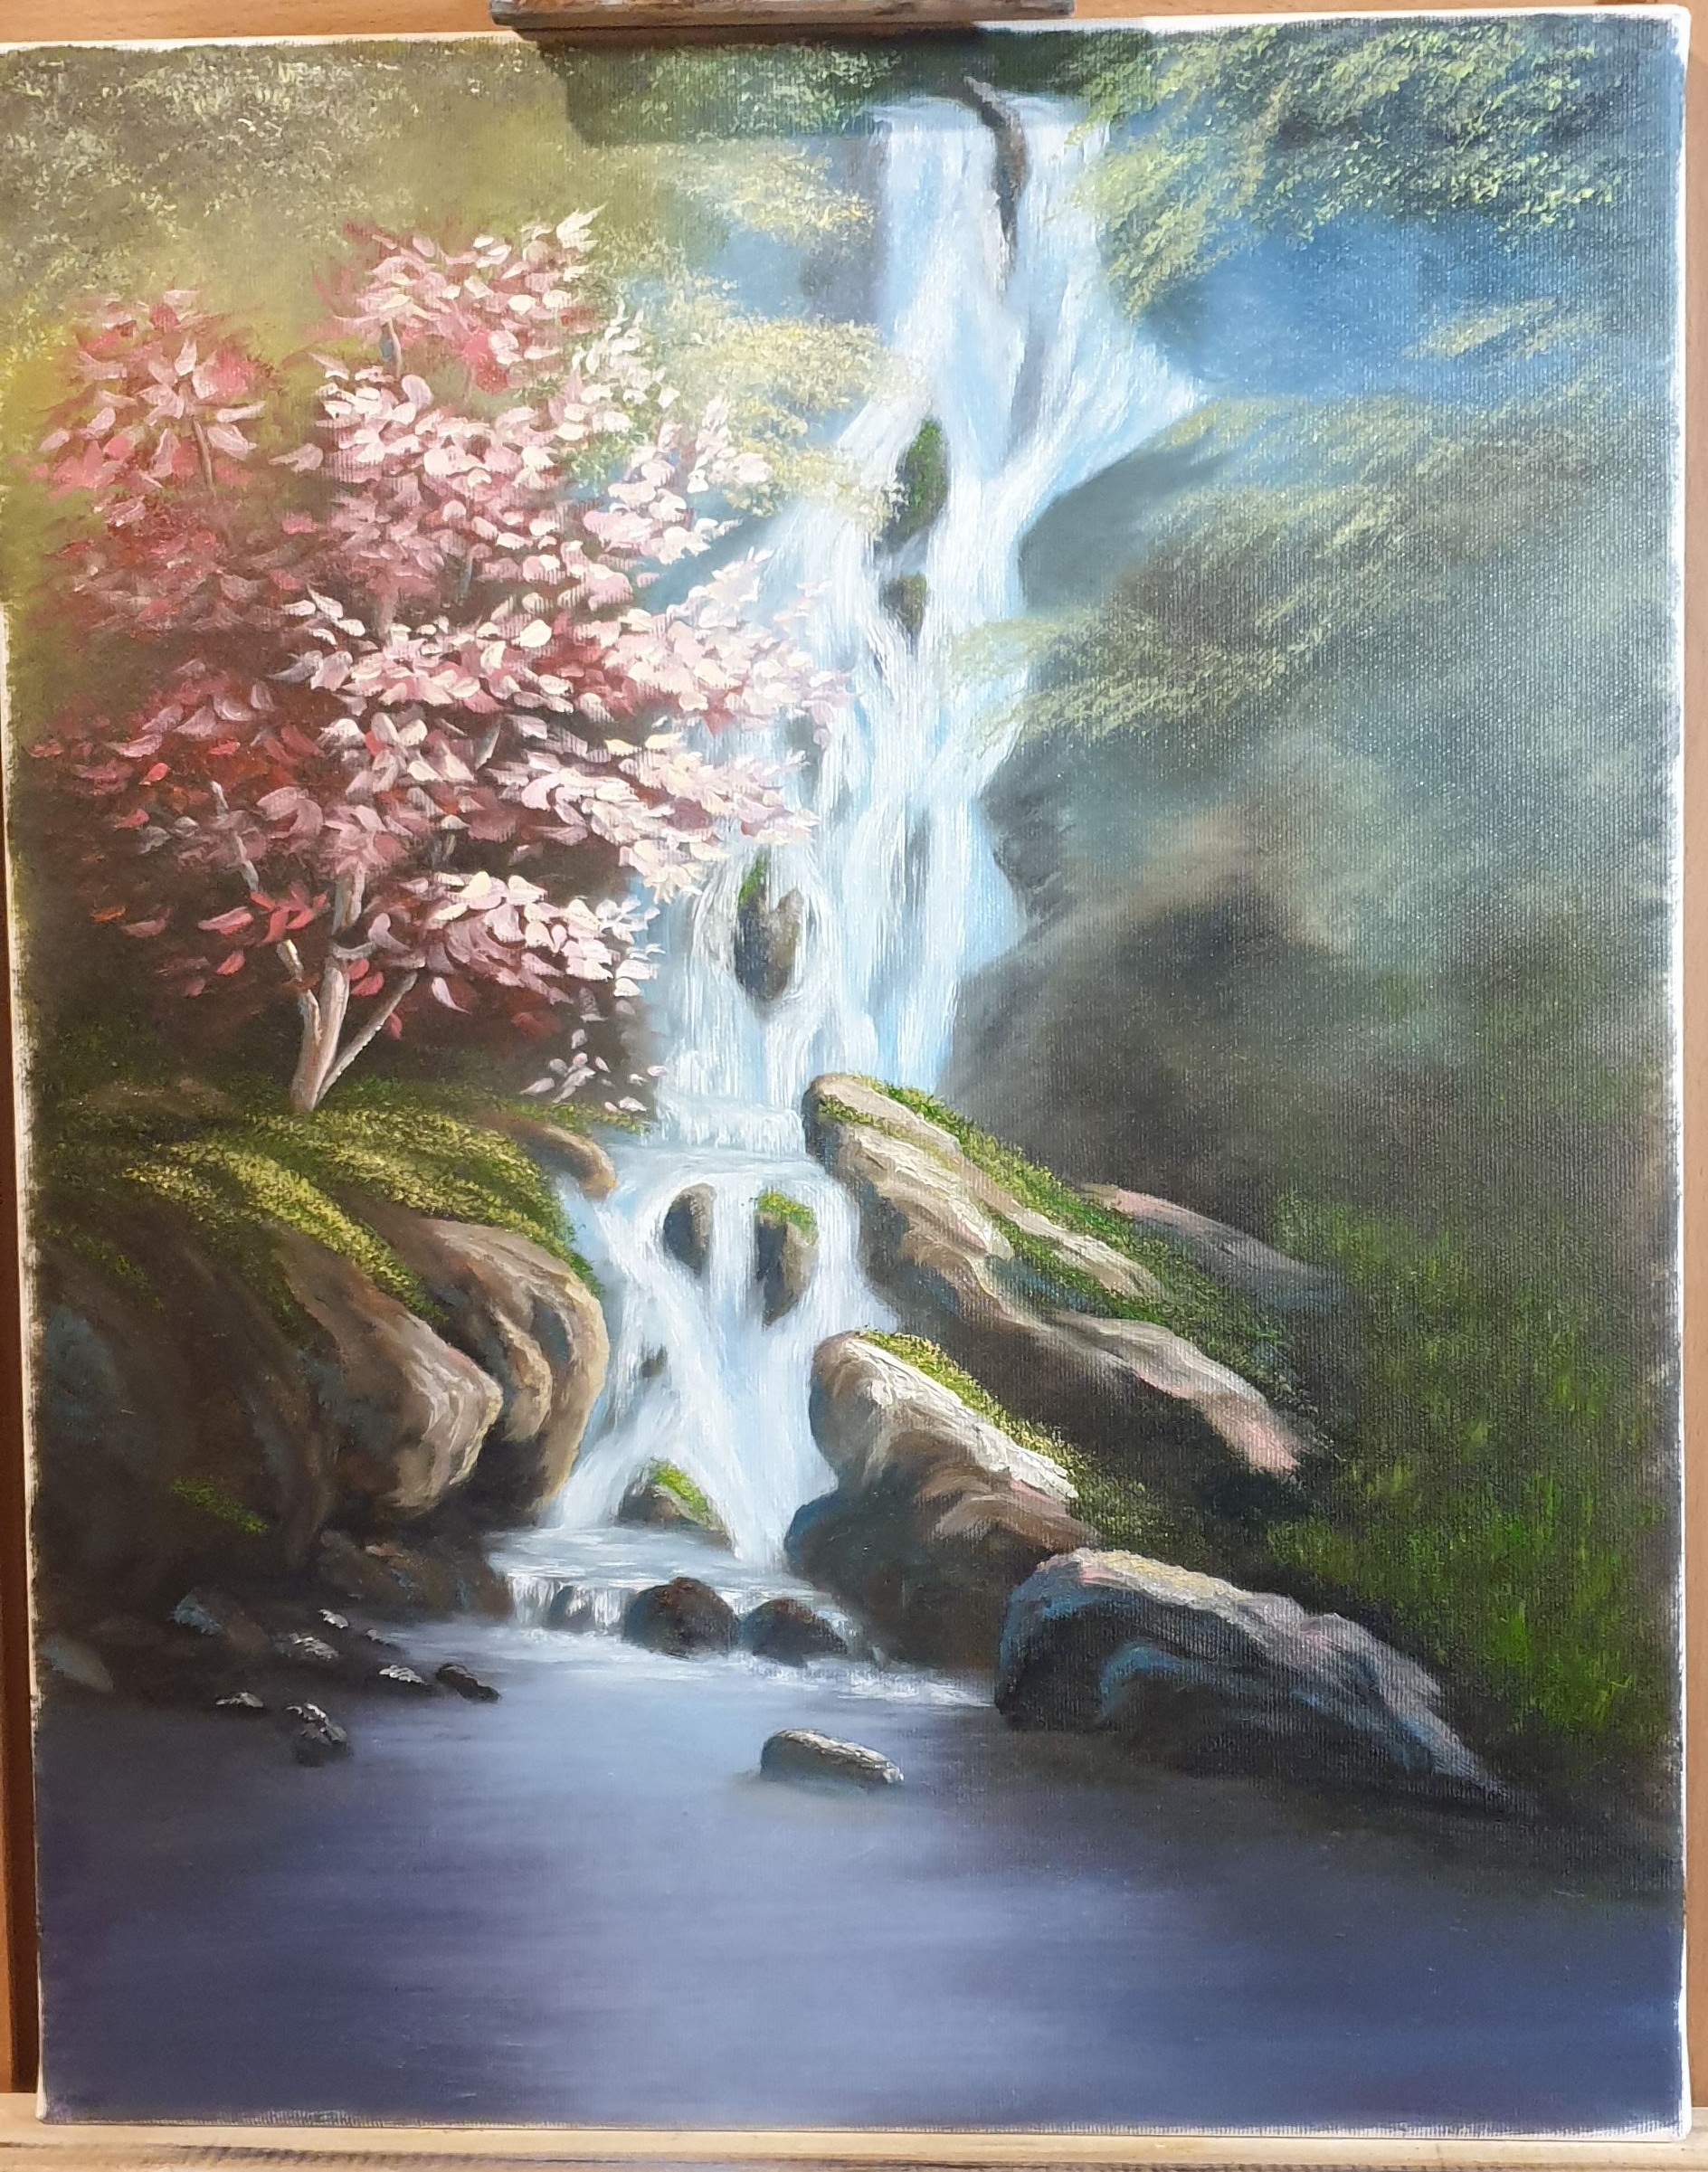
]]>There is an example of painting process for the oilpainting 50x60. The painting is called Sunset on the Golden Throne.


There is an example of painting process for the oilpainting 50x60. The painting is called The Secret of Pink Tree.

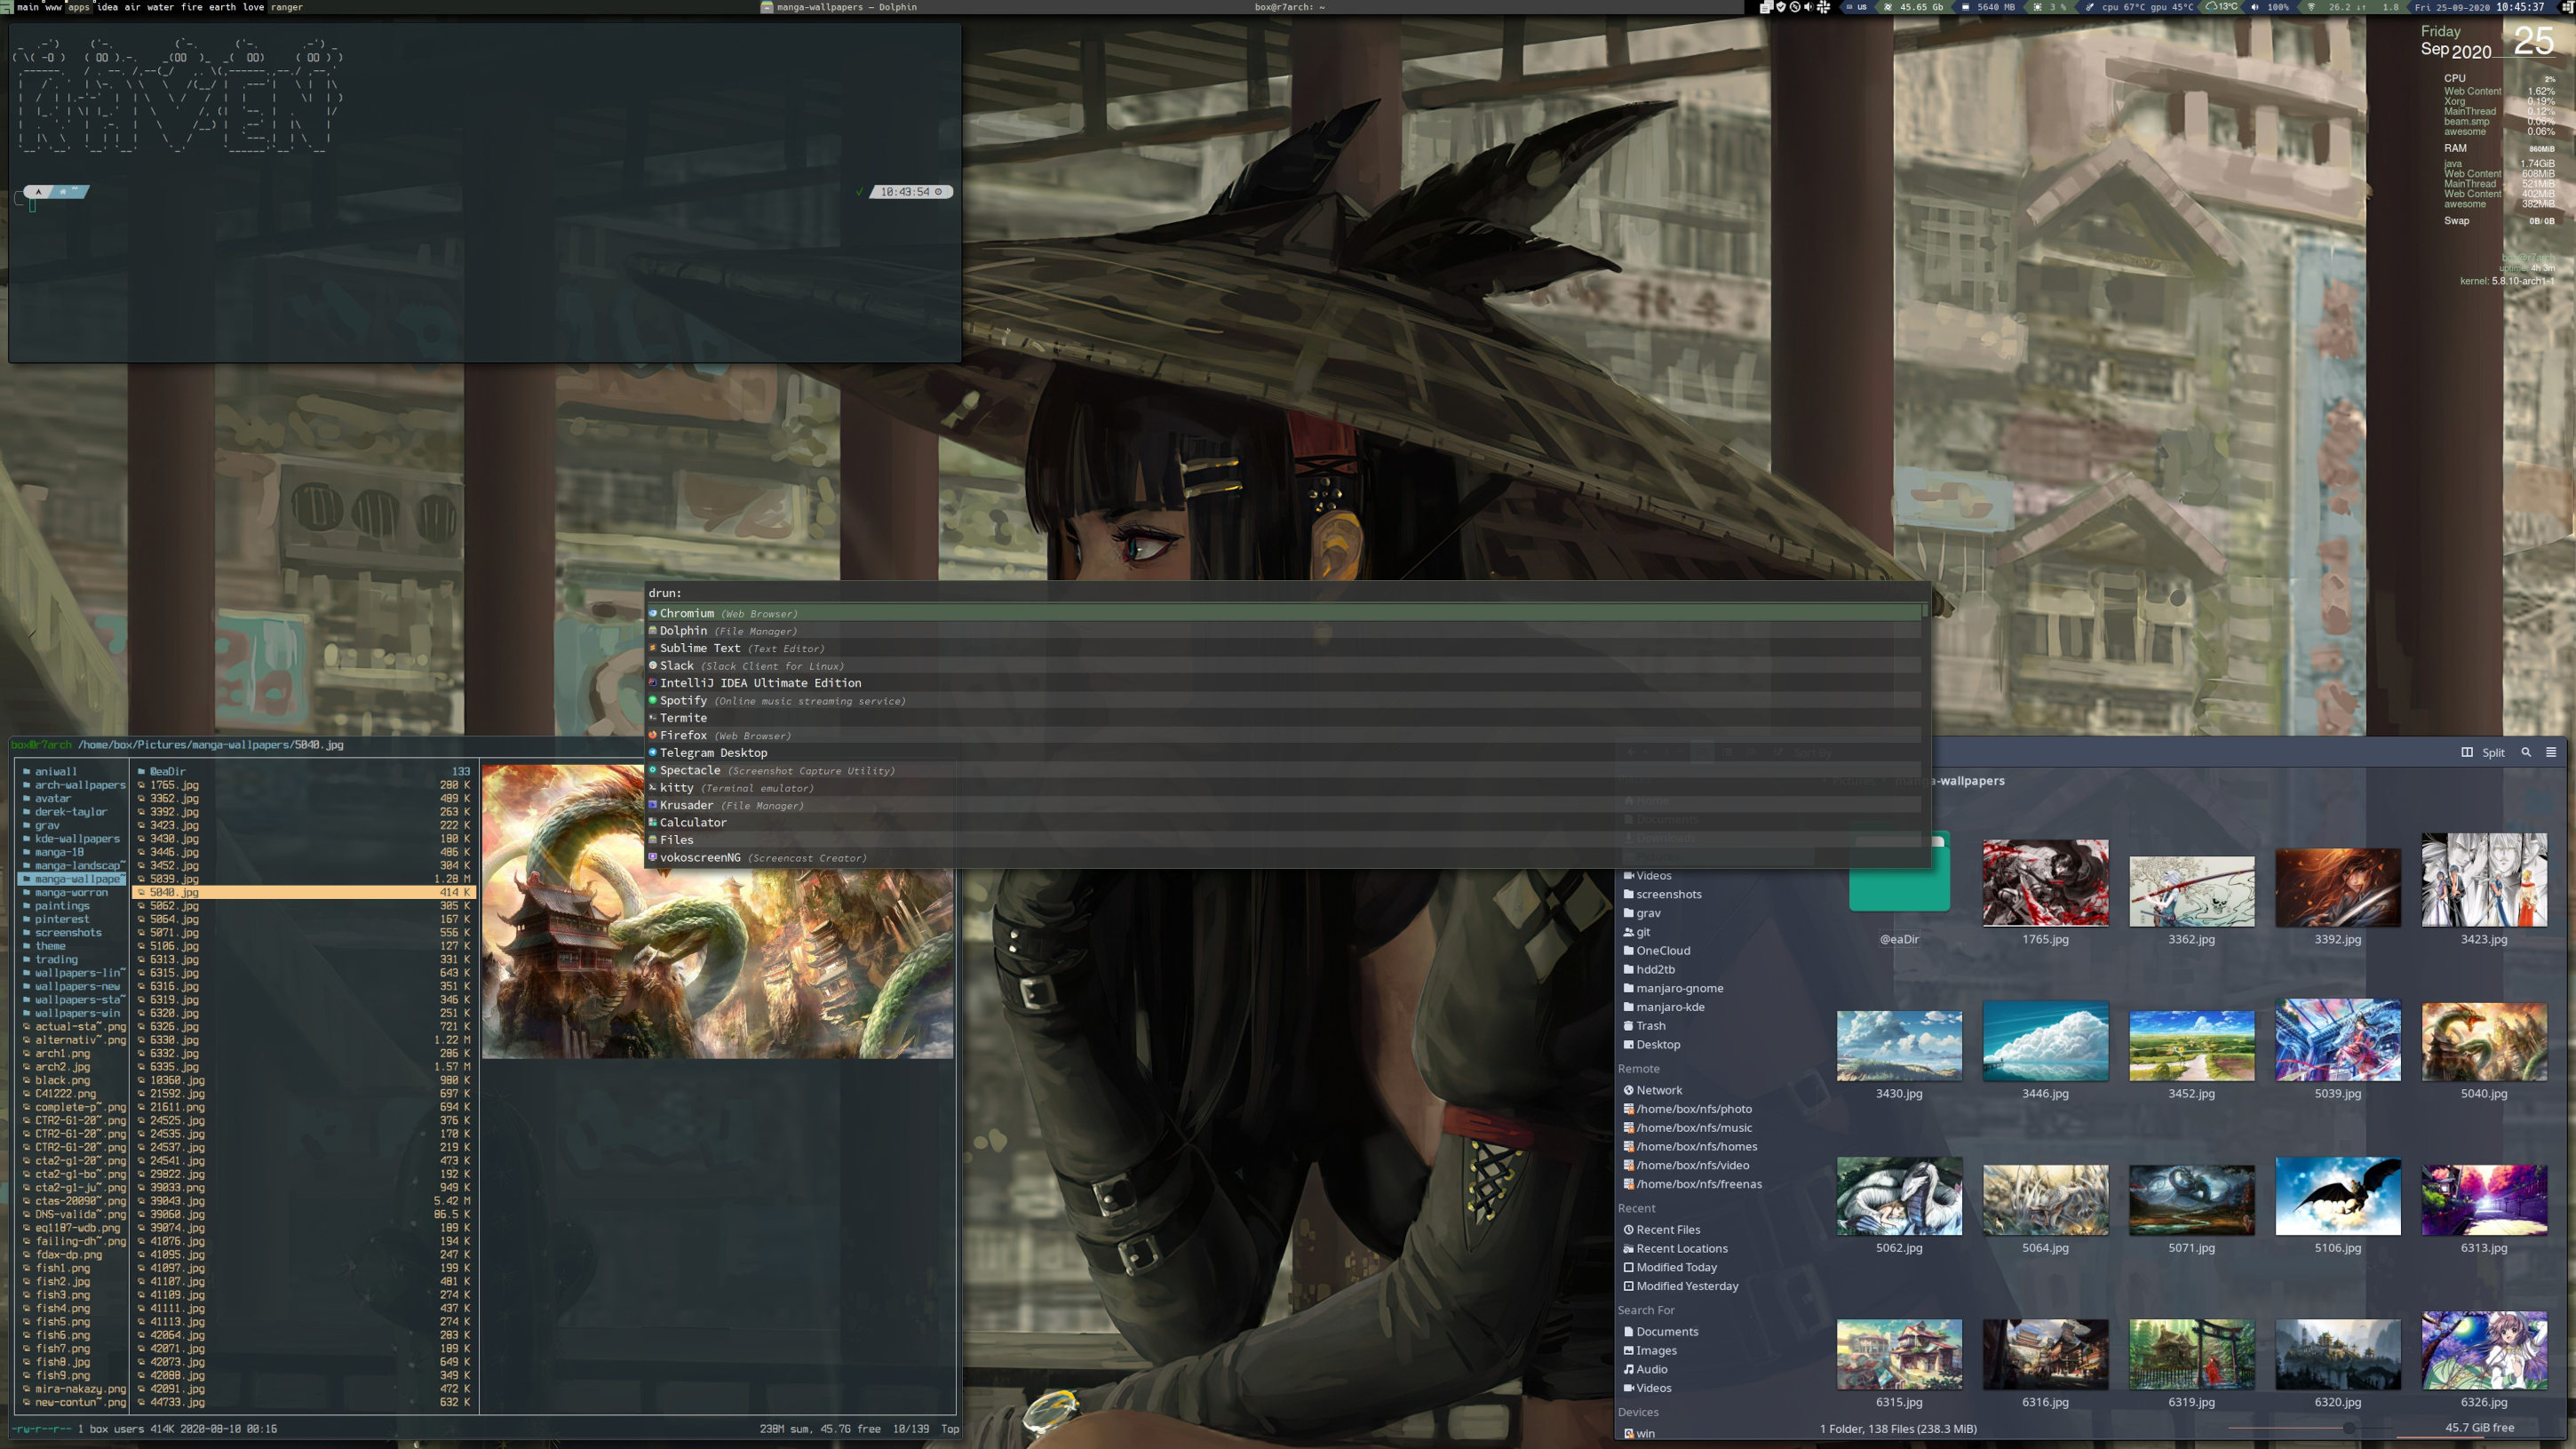
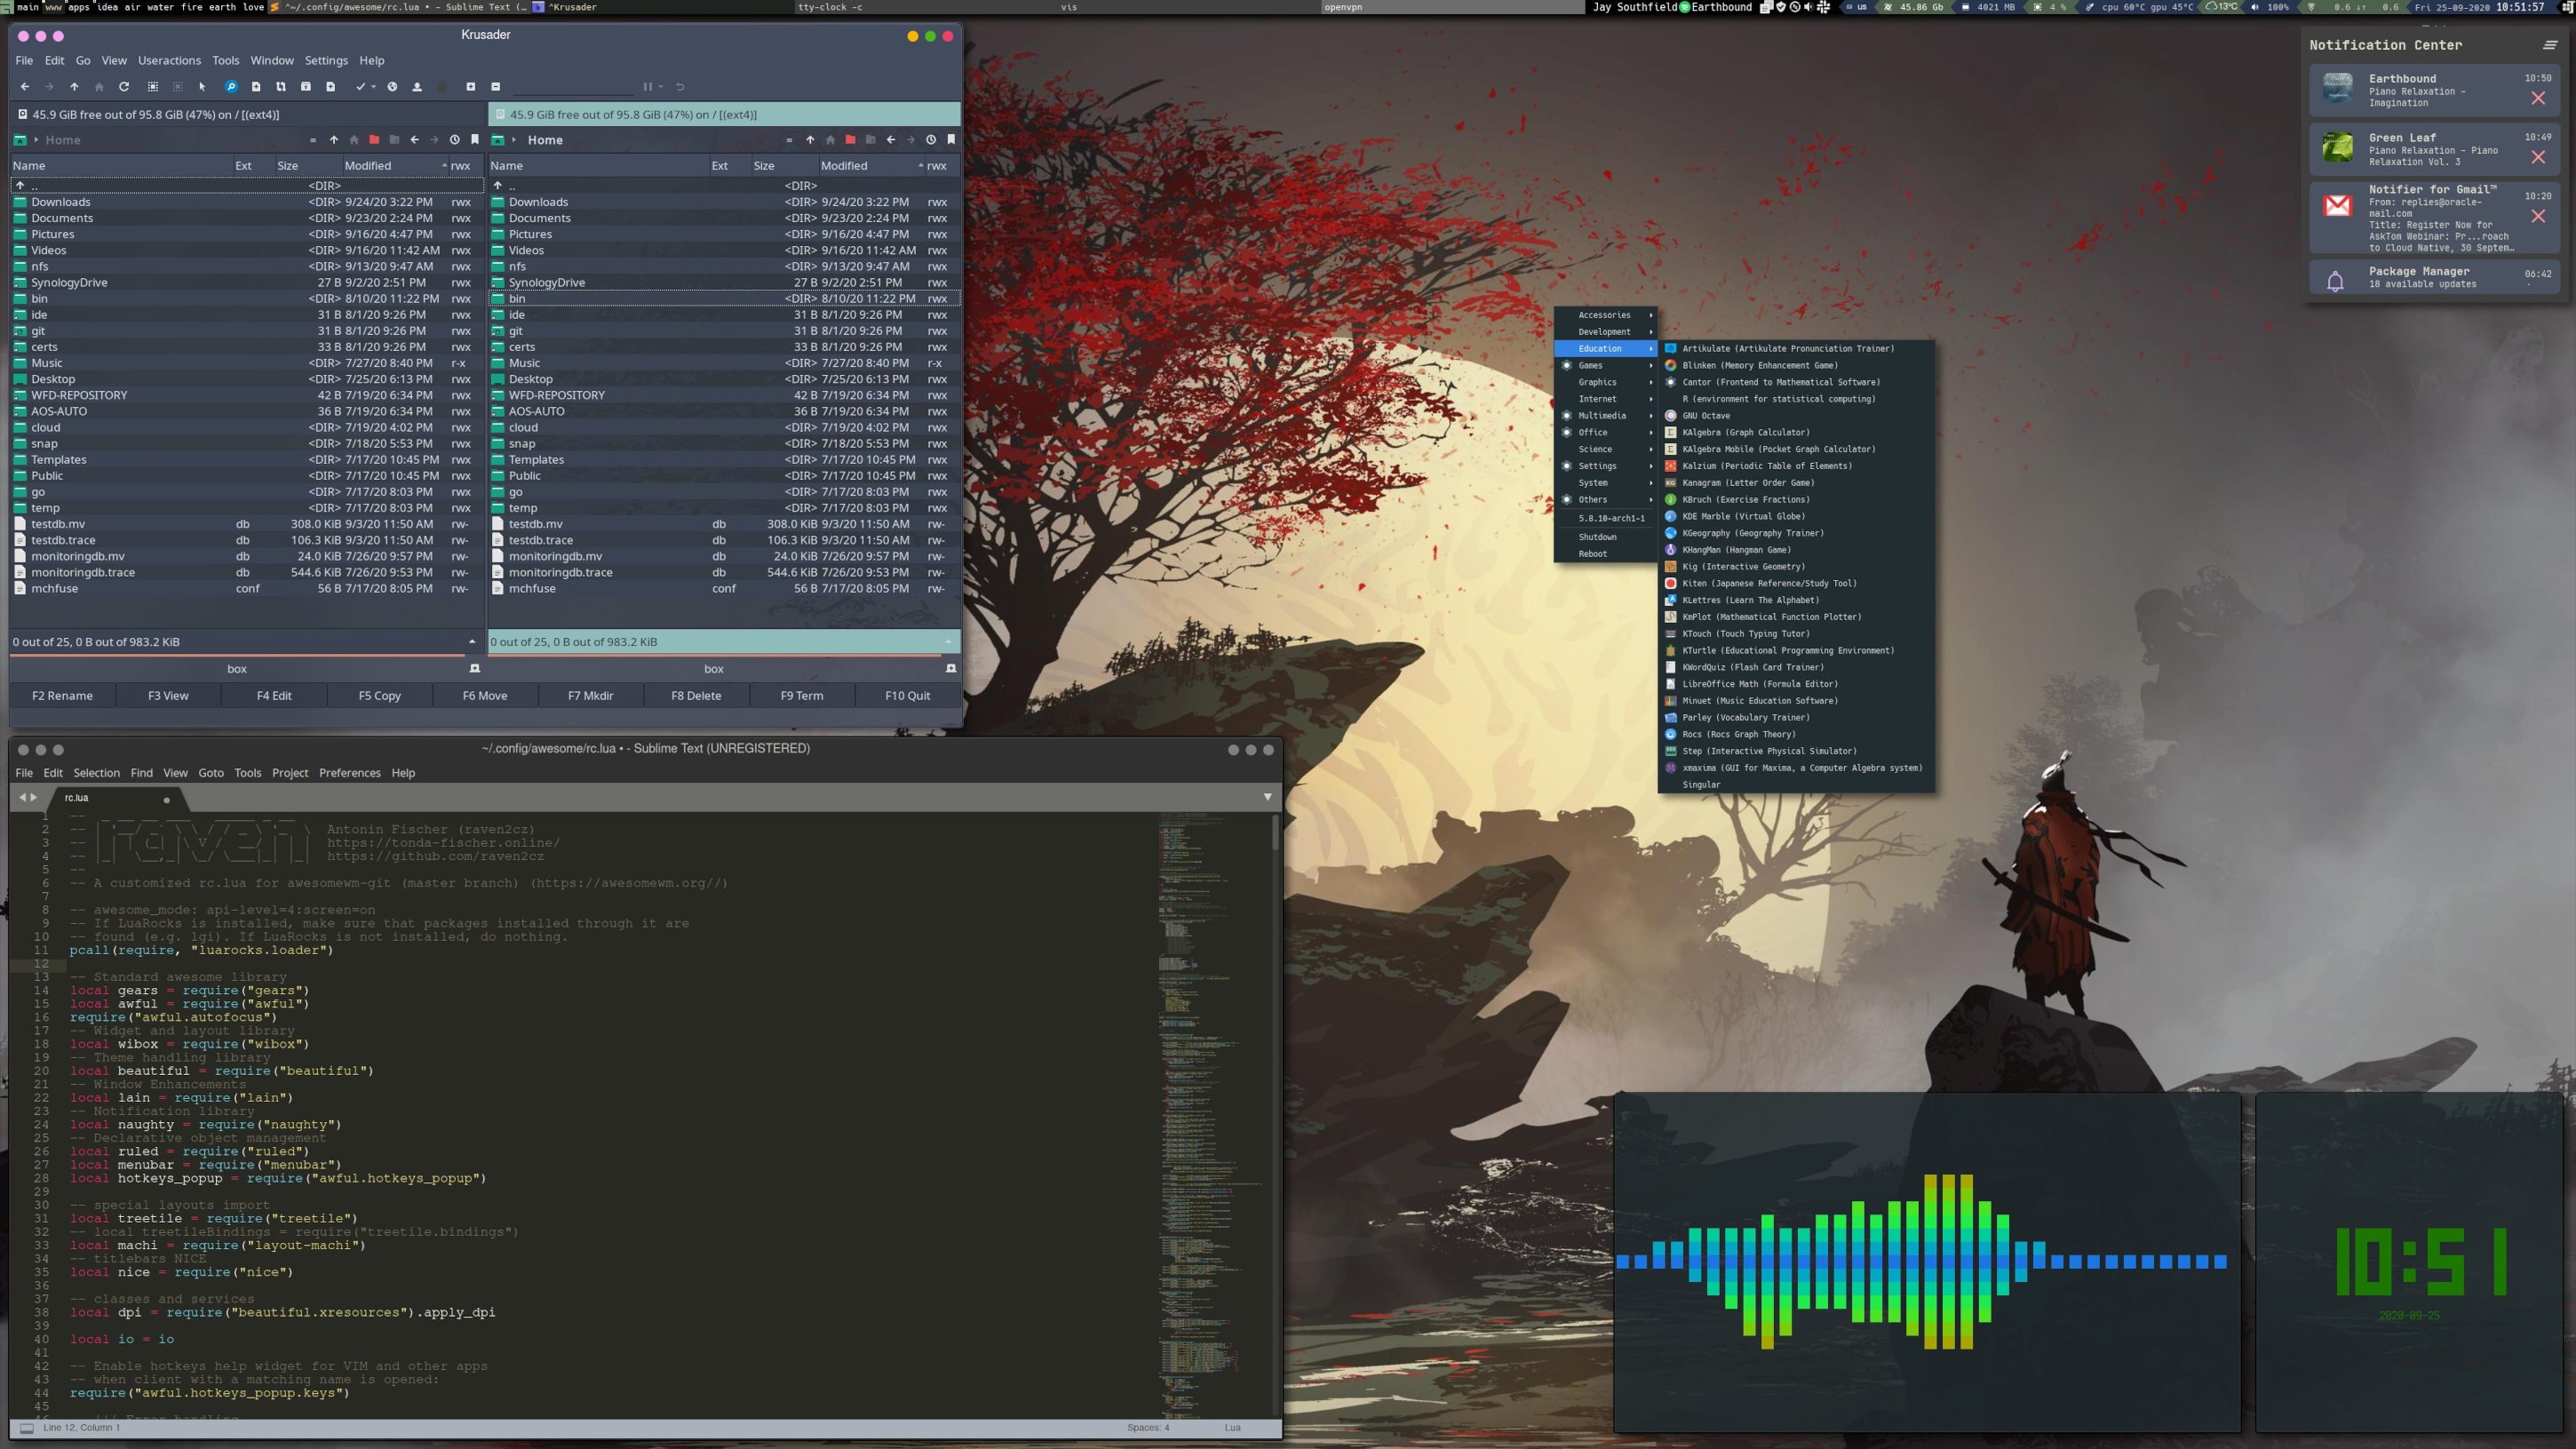
AwesomeWM is my favorite window manager in Arch linux. If you like programming (Lua) and prefer perfect fit environment to your workflows - there is no better solution as AwesomeWM! This article is about my personal components, configuration and keybindings for this fantastic WM.
AwesomeWM 4.4+ Configuration is stored in my git repository.
AwesomeWM (git-master) configuration with new Amazing Theme. Amazing Theme is focused to green colors with gold highlights. Applications styling and additional colors are based on Nordic Colors and KDE Nordic Theme An arctic, north-bluish color palette.
First unmount your ntfs partition, because if it is locked, the partition is set to read-only mode.
sudo umount /mnt/hdd2tbAfter that call command ntsfix with uuid of your ntfs partition which has to be fixed.
sudo ntfsfix /dev/disk/by-uuid/2CE8875EE88724E4 If the command is successful, you will see fixed success output logs from script. After it you can mount your partition again with read and write rigths.
sudo mount -o rw /dev/disk/by-uuid/2CE8875EE88724E4 /mnt/hdd2tbDONE ;-)
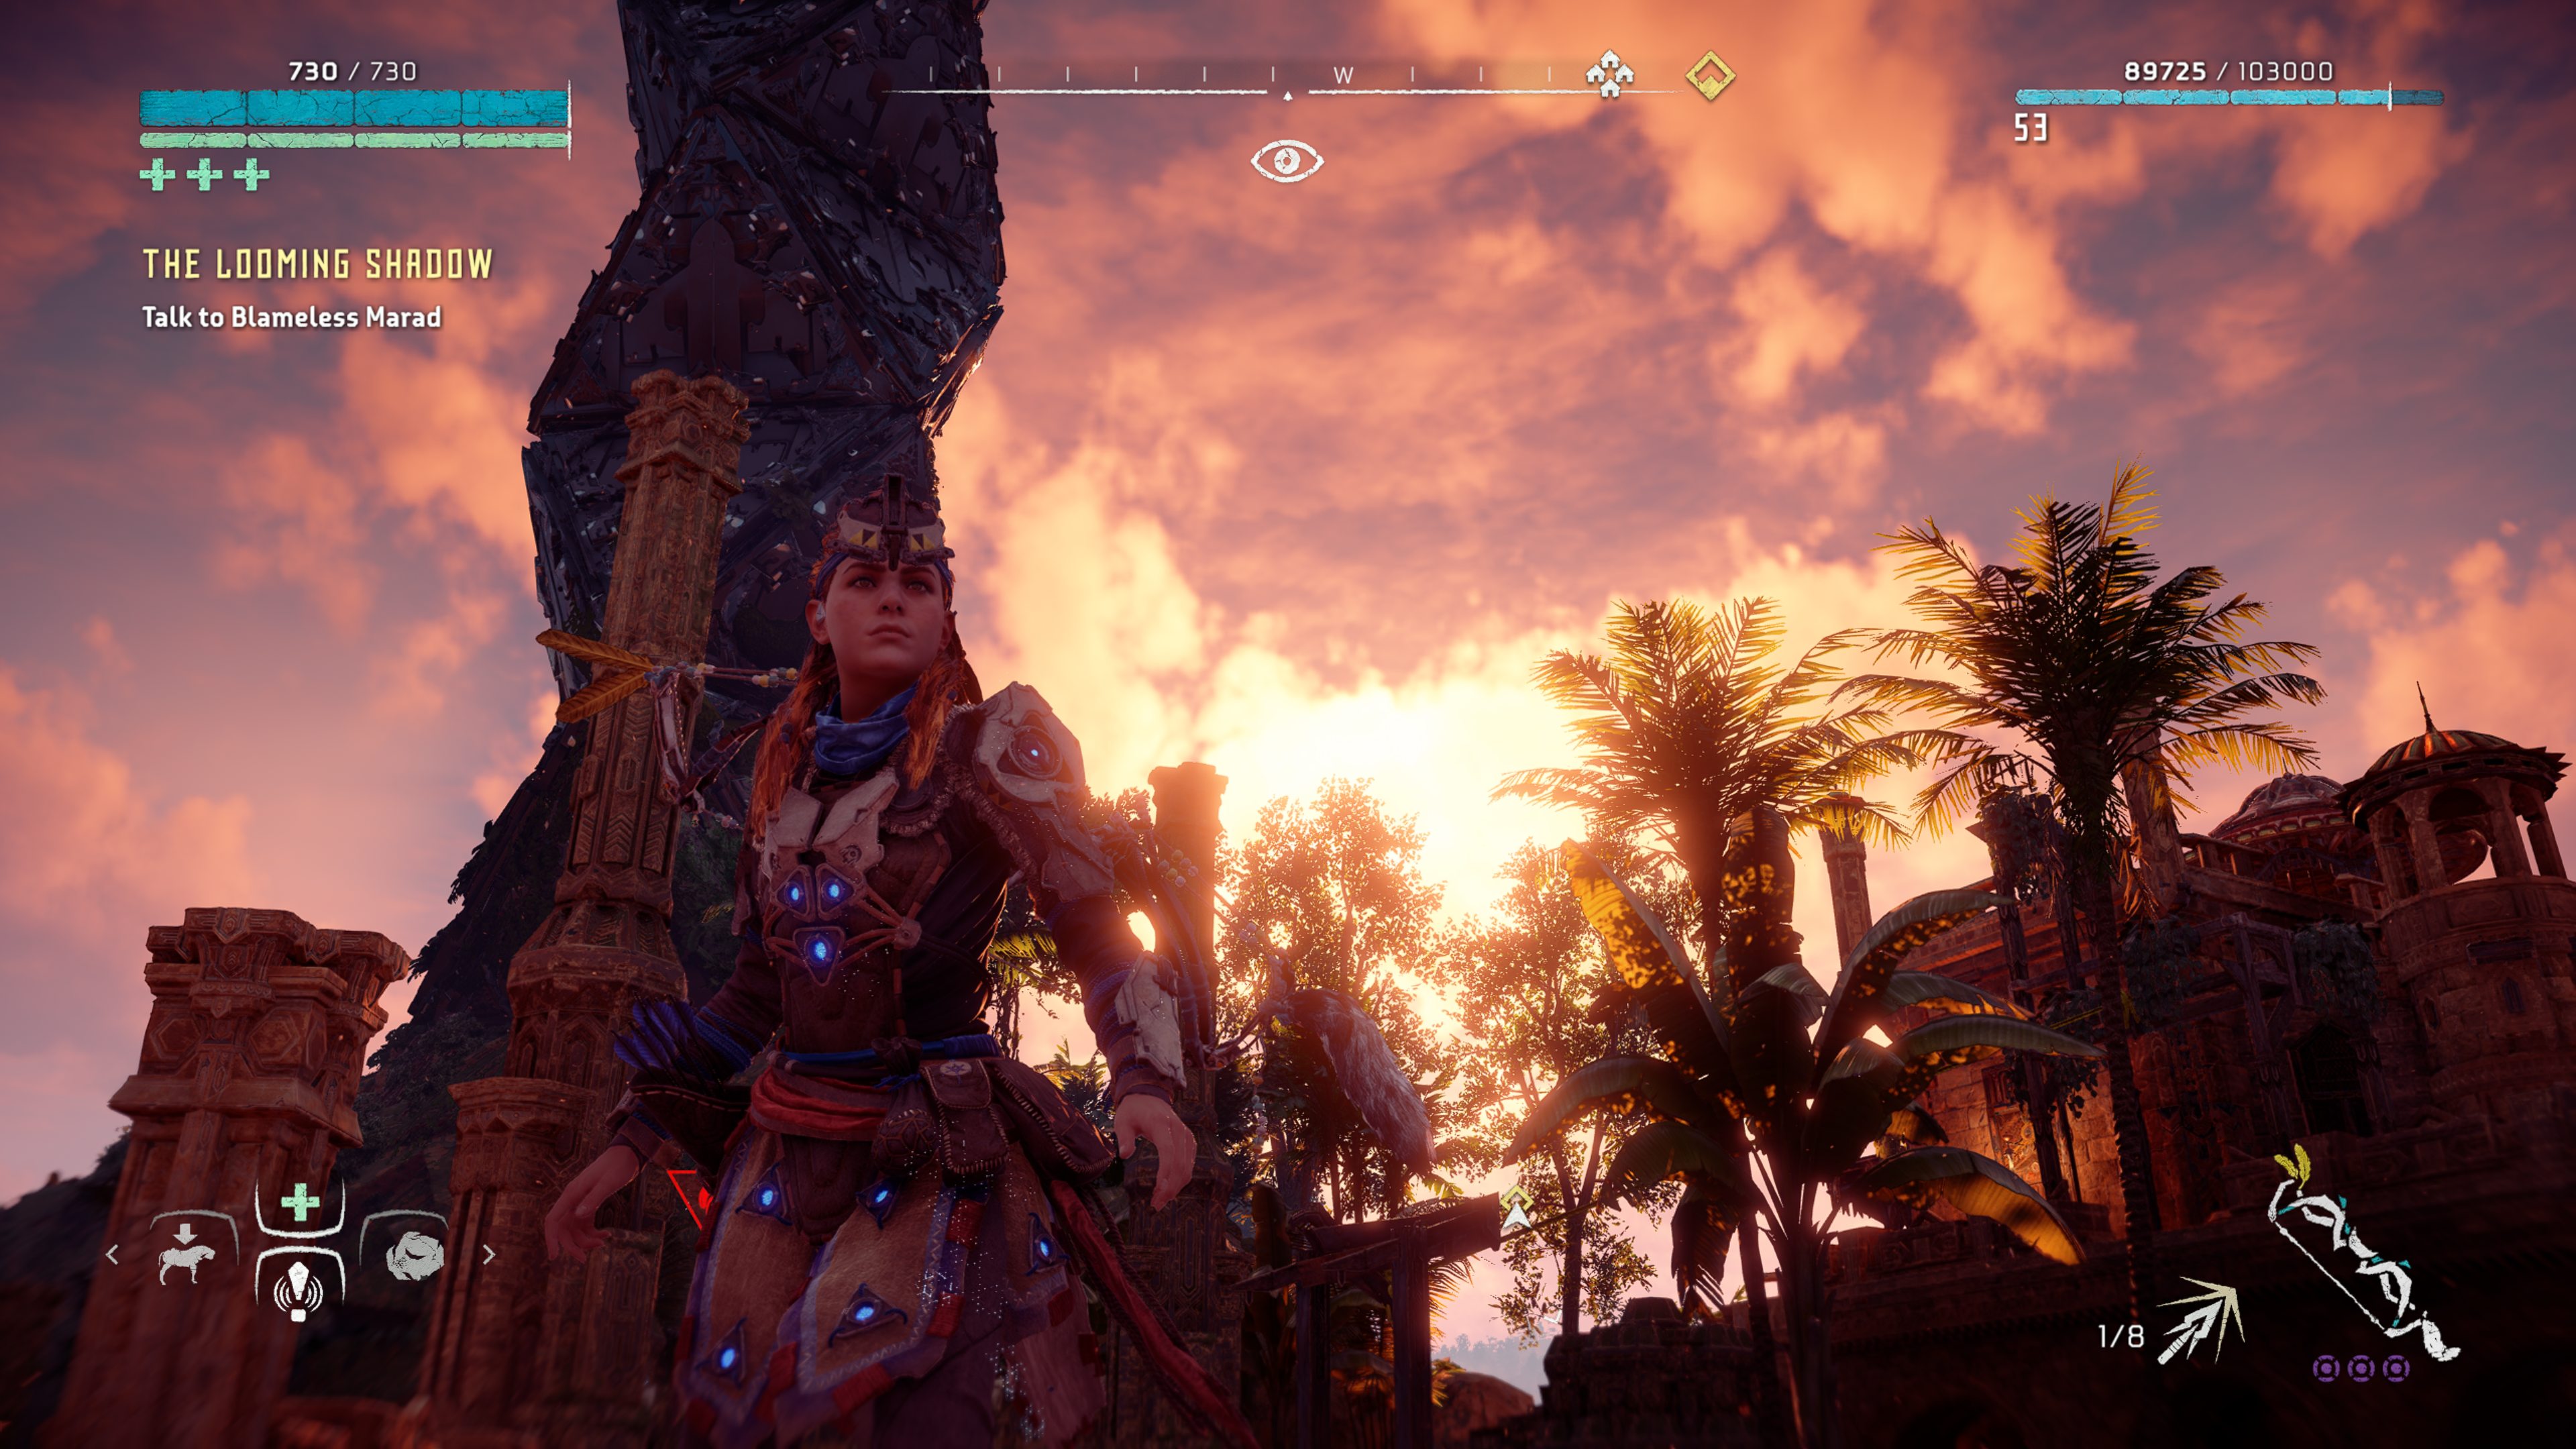
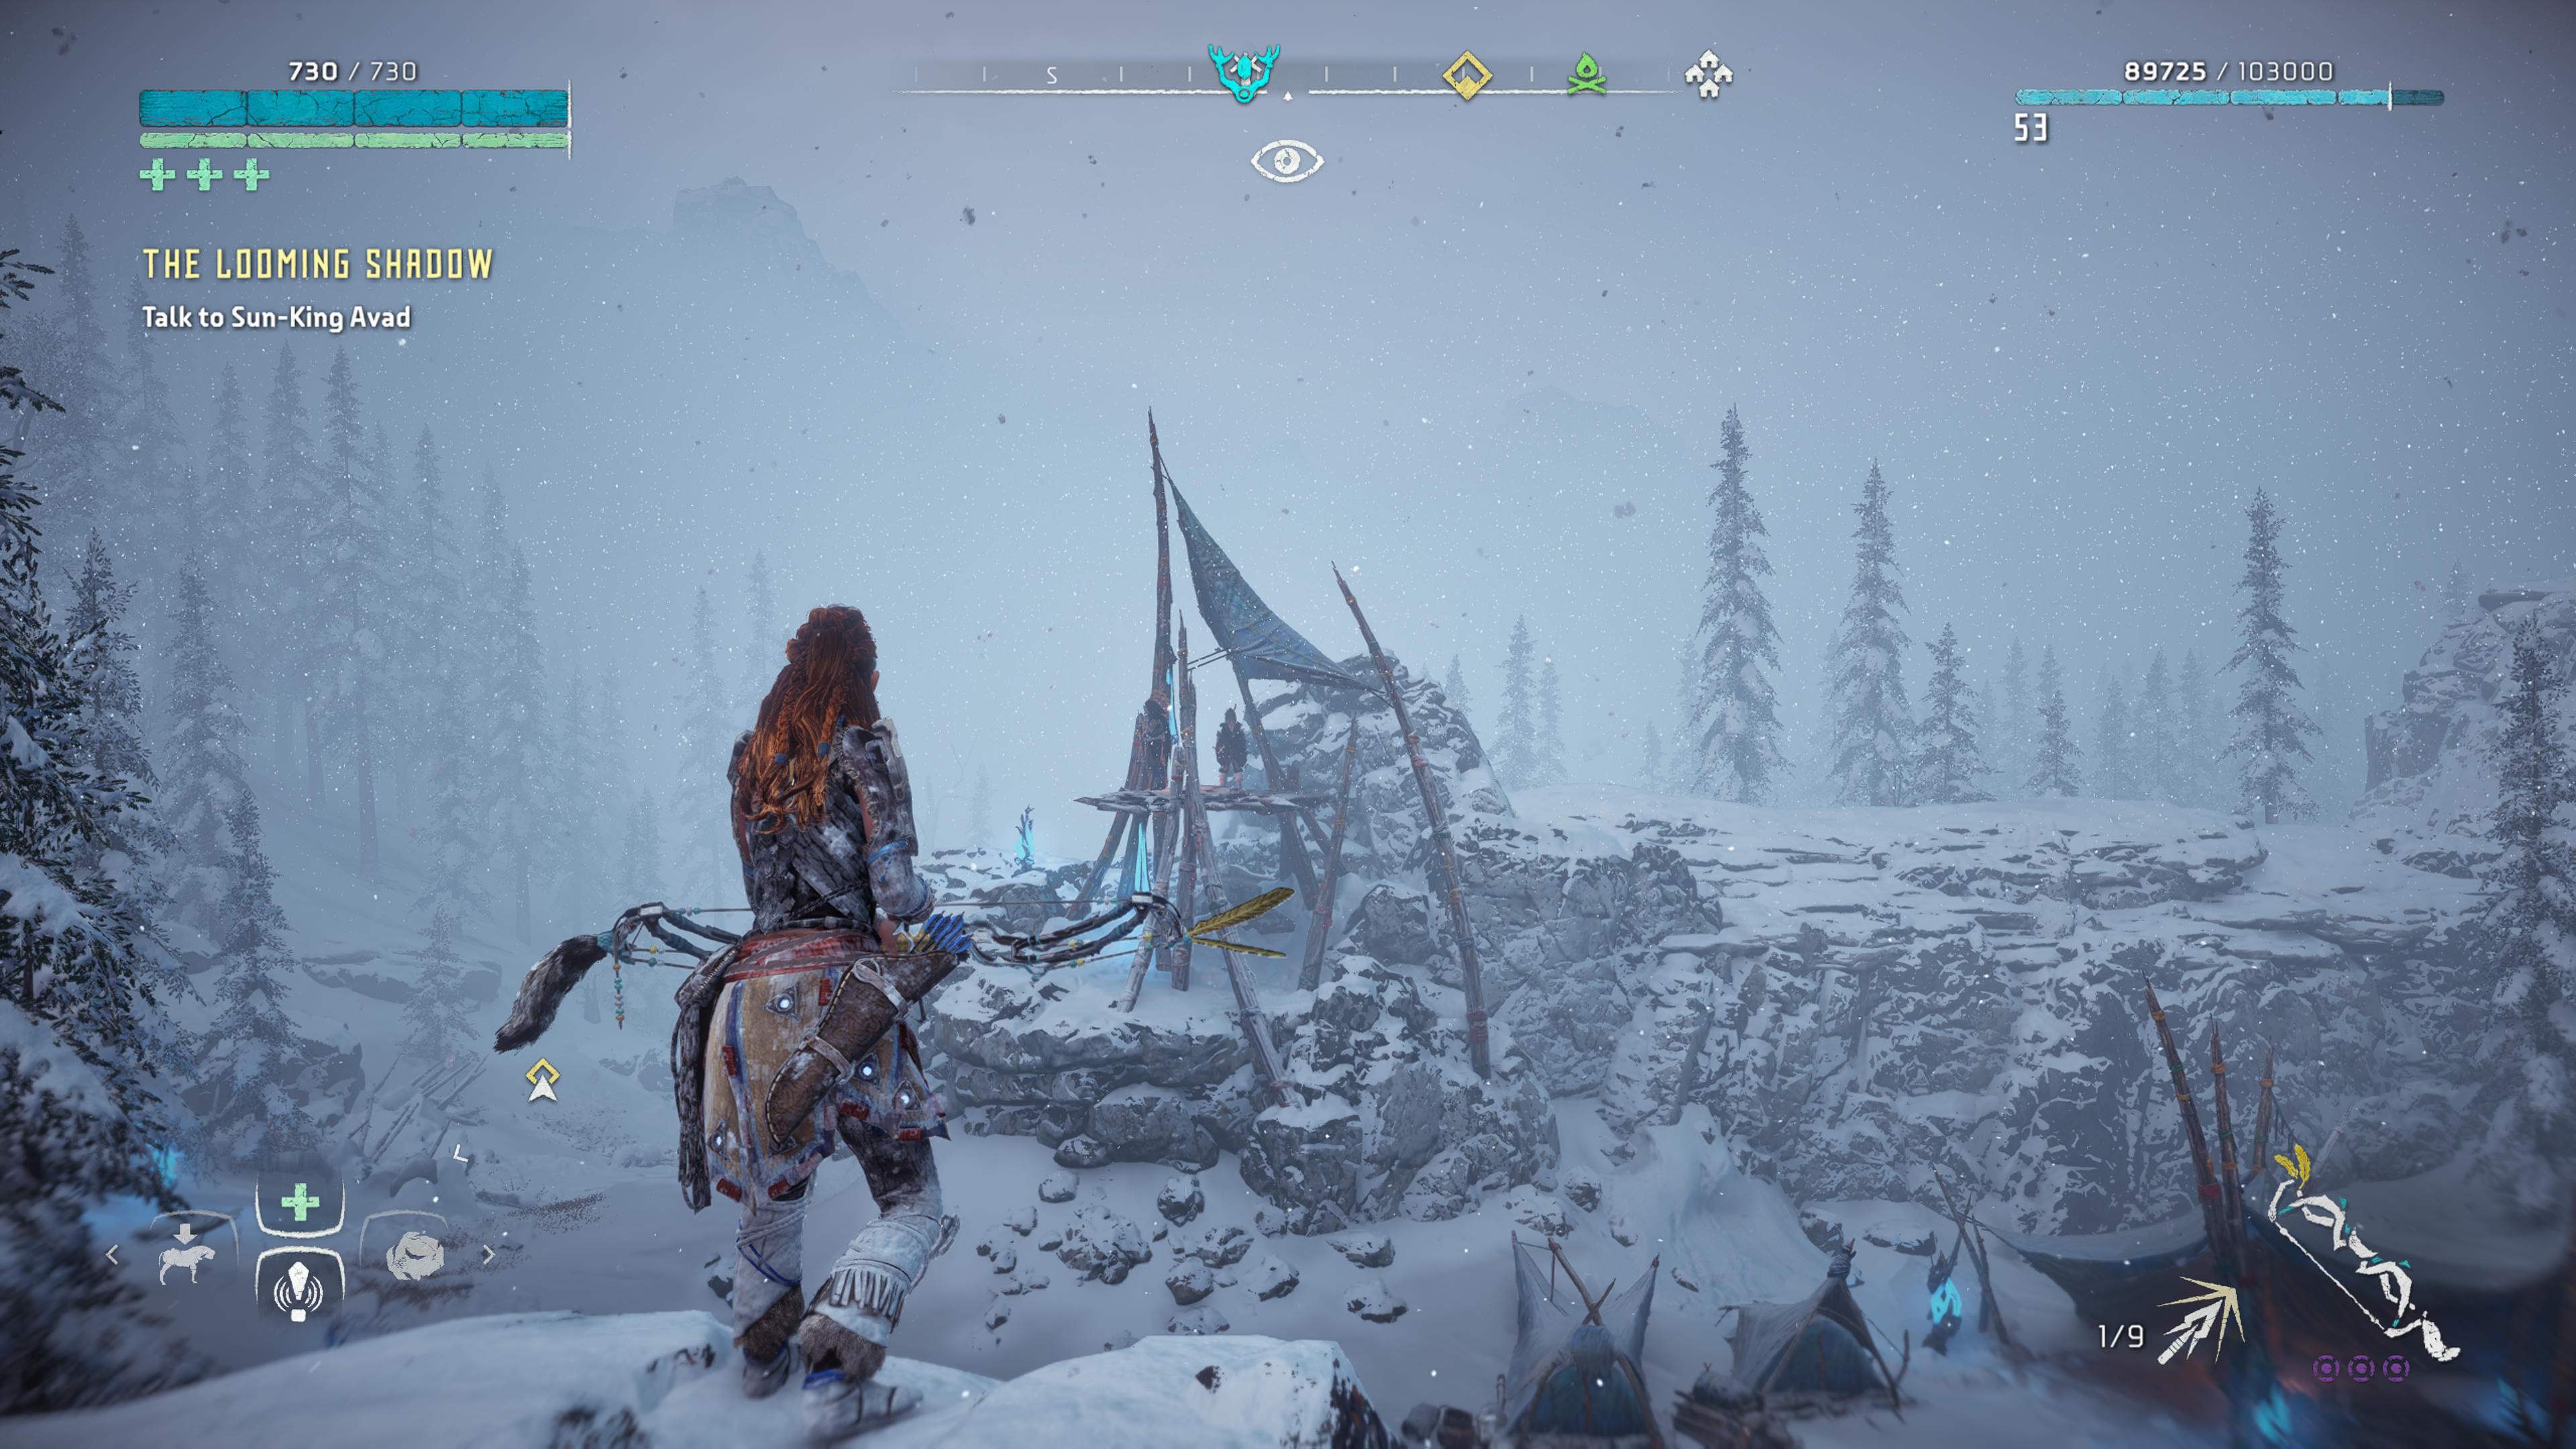
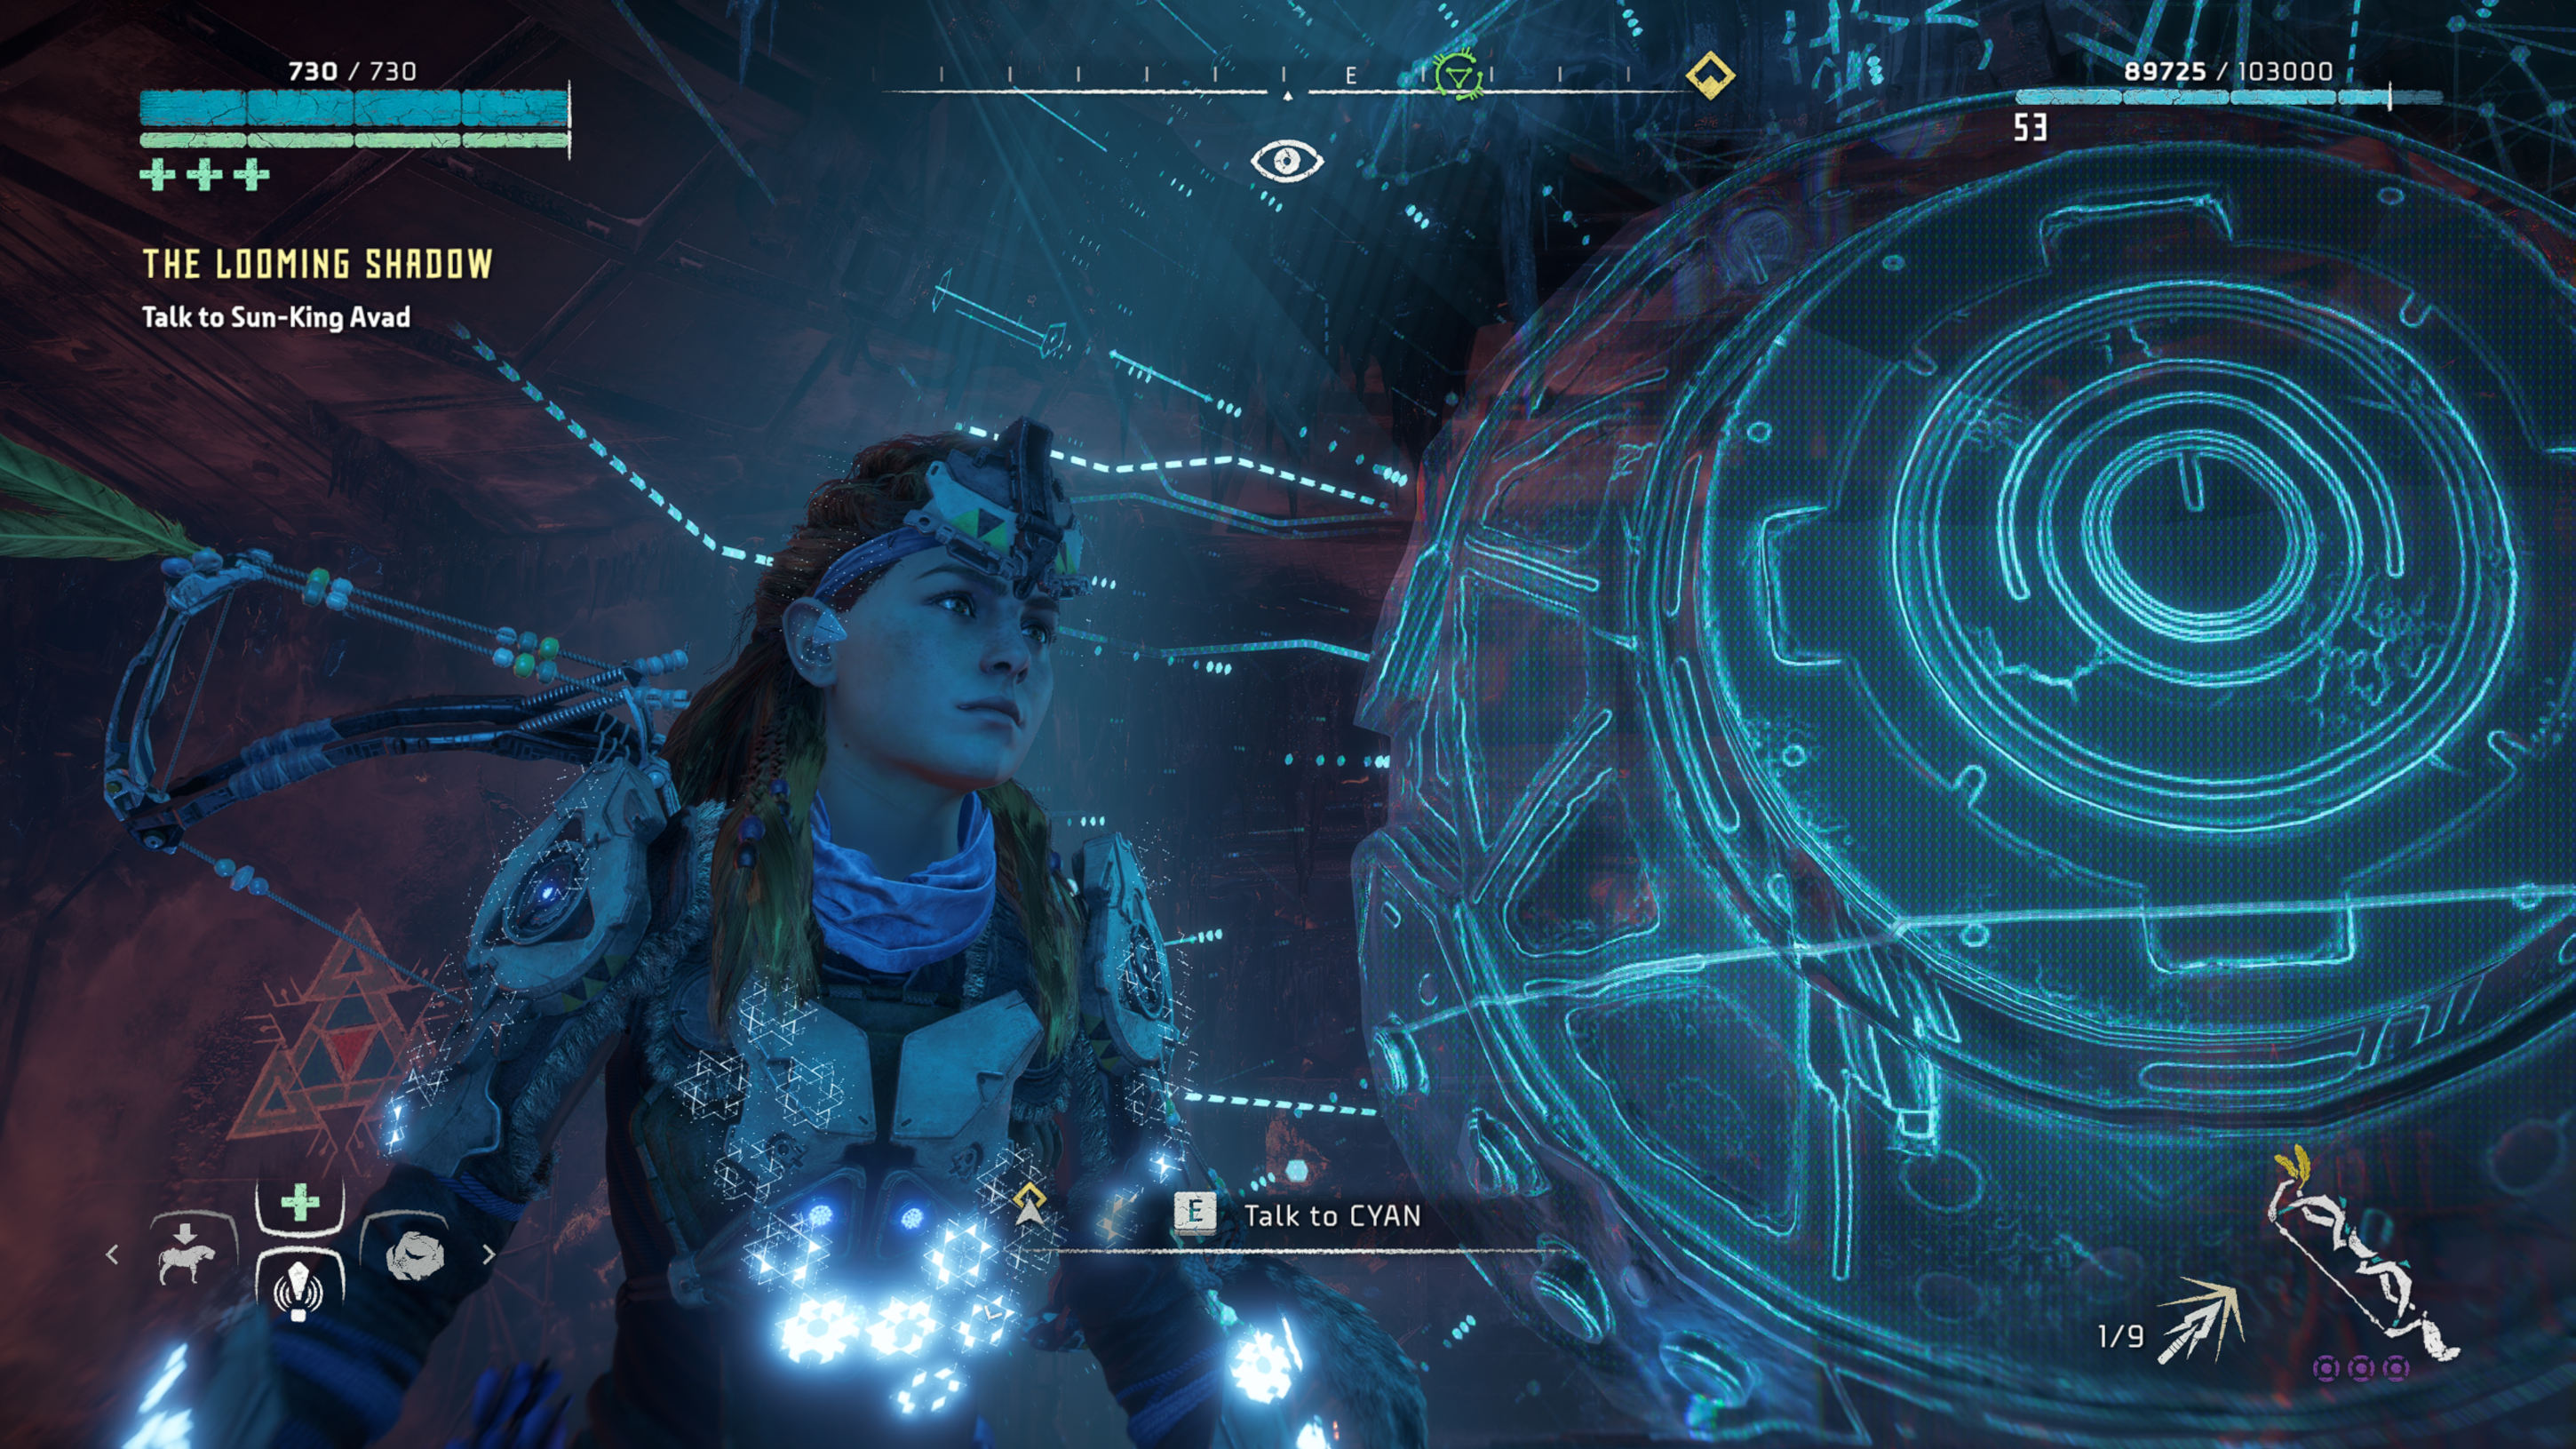
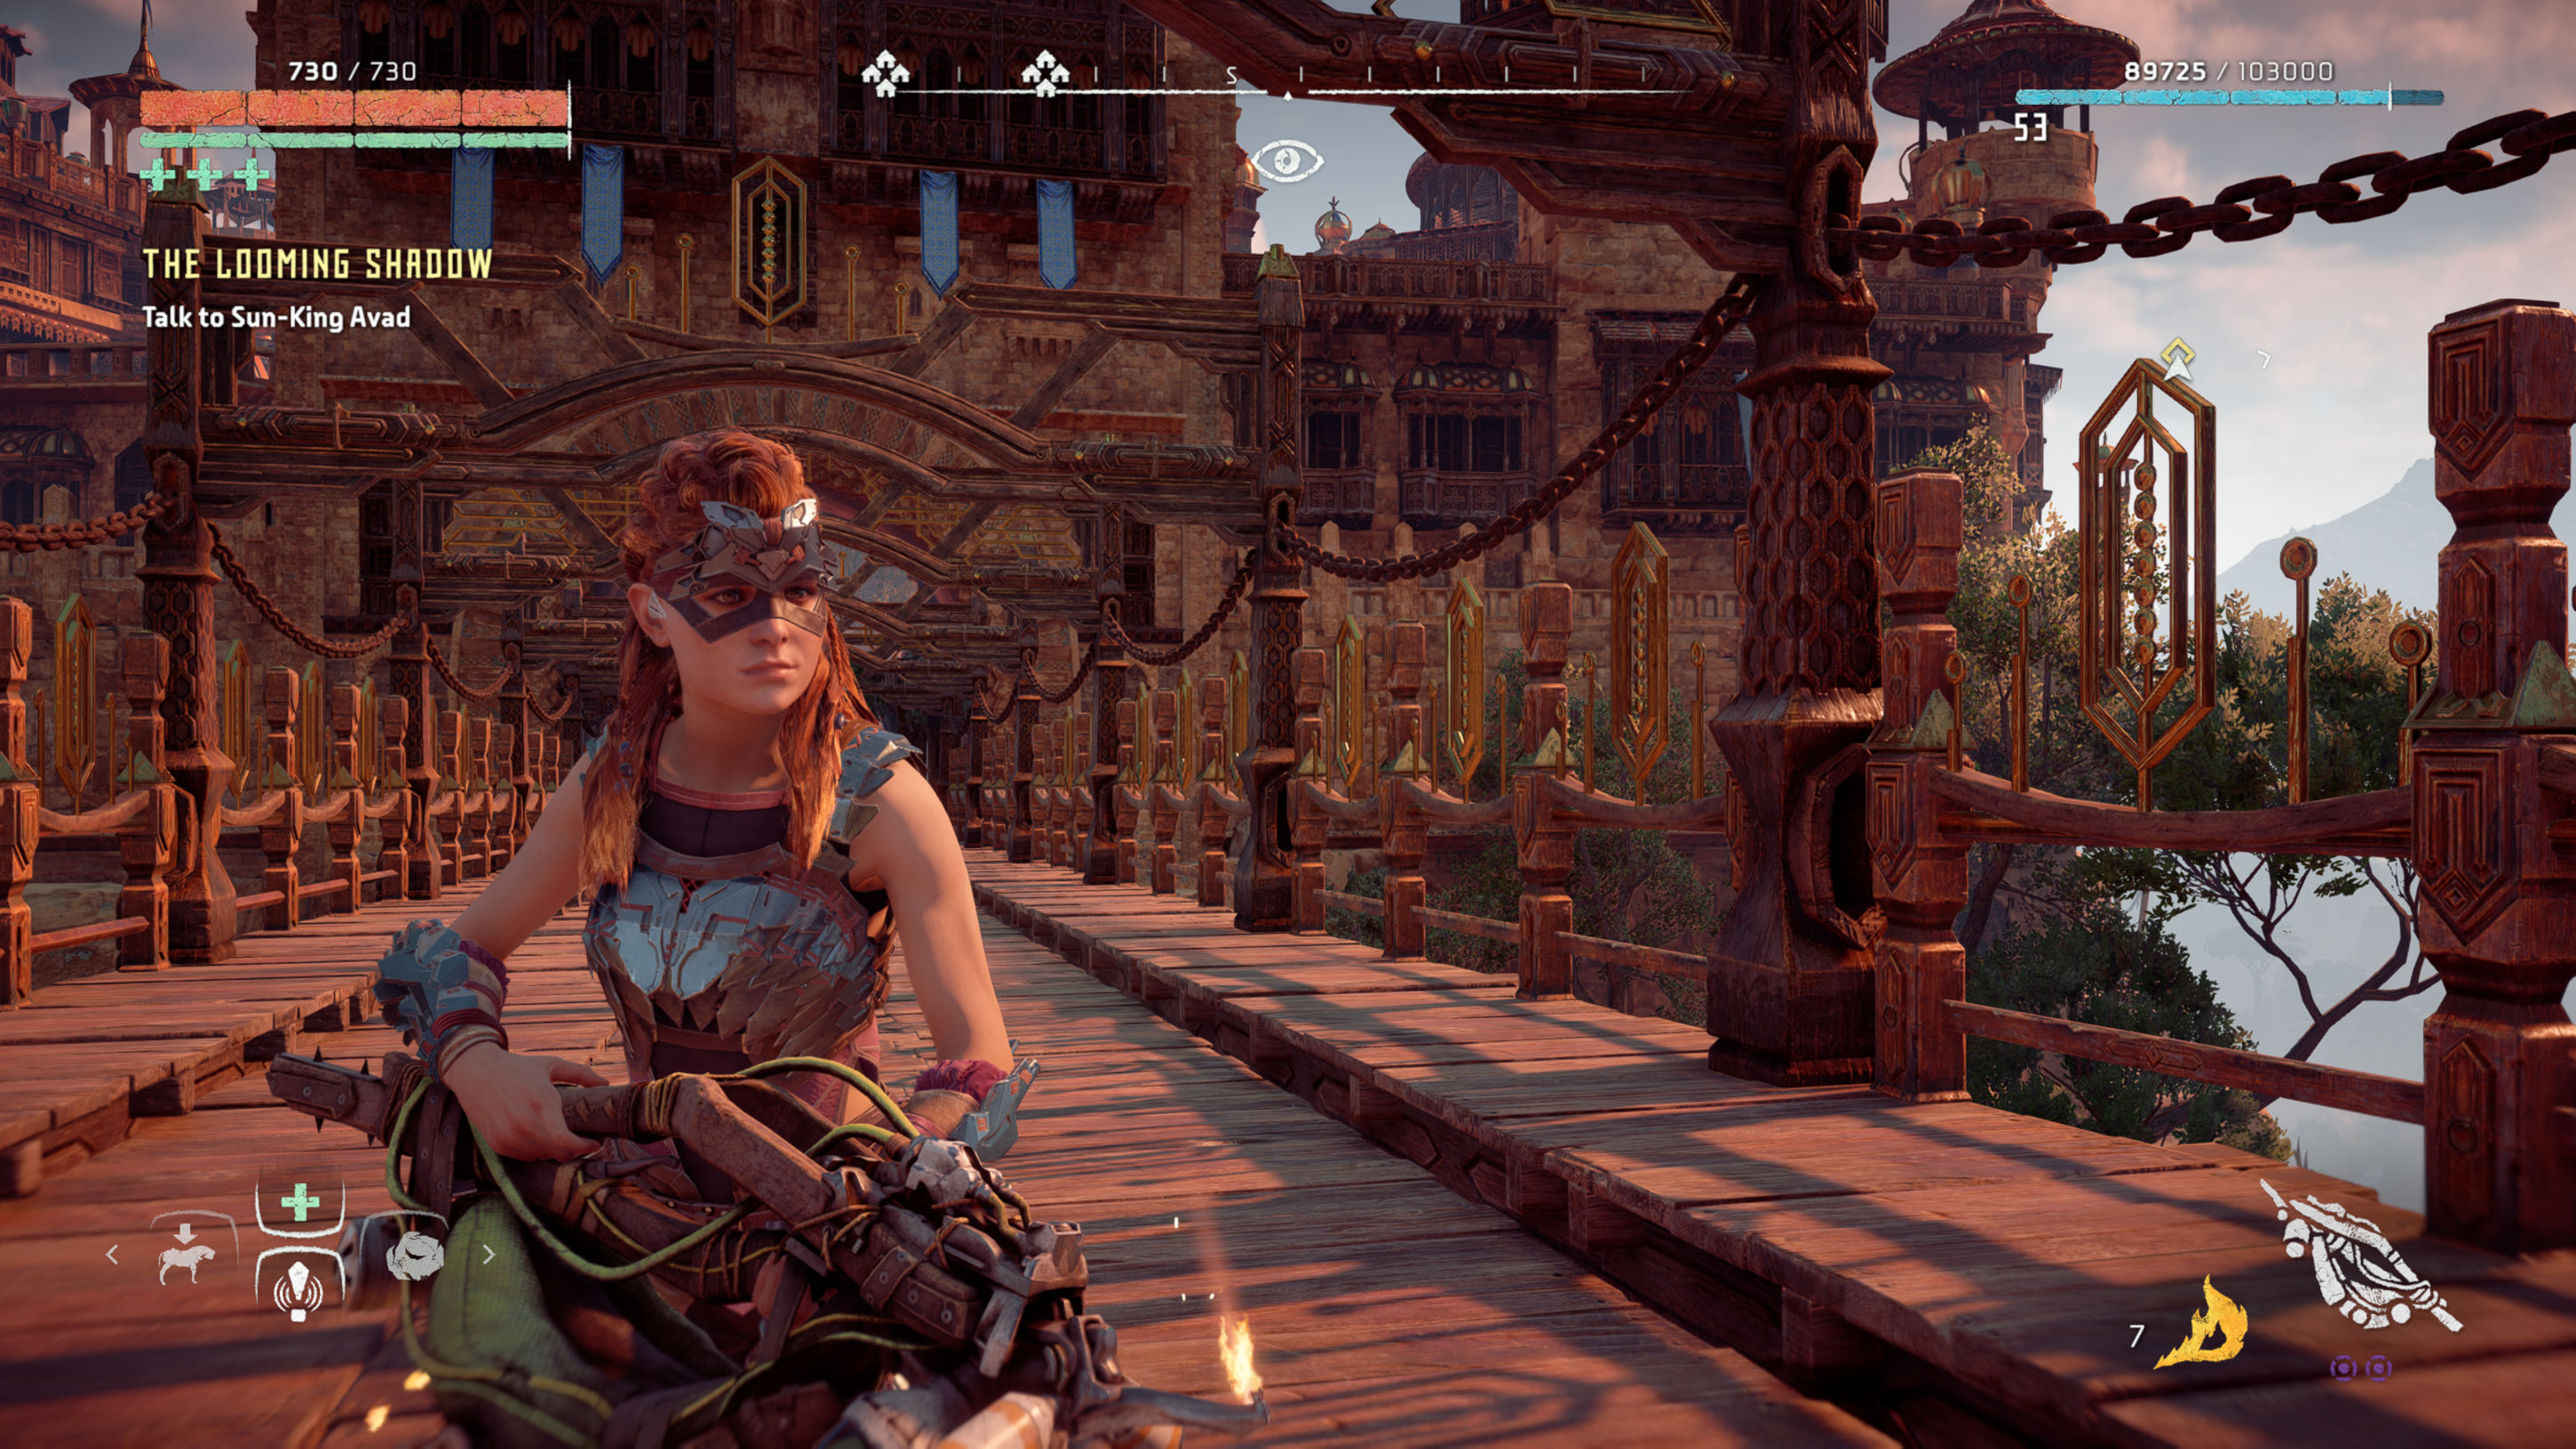
]]>Horizon Zero Dawn and The Frozen Wilds Addon is awesome and fantastic game after serveral years. If you love Witcher 3, this is mainly game for you. Main Horizon series character is Aloy. Aloy is a wonderful woman. You will literally experience her sorrows and missions...
I completed Horizon Zero Dawn and Addon with 53 level with 86% completed all content. There are some my notes, screenshots, images about Aloy.
There are a lot of written about this game. There are several very good links for gaming guide, art, additional content.

![]()


.jpg)


Clipmenu is a simple clipboard manager using dmenu (or rofi with CM_LAUNCHER=rofi) and xsel. https://github.com/cdown/clipmenu similar is https://github.com/erebe/greenclip
The server clipmenud (deamon) has to be started. I'm starting this server by my ~/.config/awesome/autorun.sh run clipmenud
The clipmenu has serveral configurations which is reachable by clipmenu -h help.
The clipmenu configuration has to be started for user environement or global. You can use /etc/environment or .profile. In my case, I'm using for my X11 env ~/.xninitrc with env vars for X11:
# clipmenu rofi support
export CM_LAUNCHER=rofi
export CM_HISTLENGTH=50
export CM_DIR=~/.config/clipmenu
Clipmenu history is stored in the folder defined by parameter $CM_DIR There is file cash which can be modfied, for example delete some passwords etc.
Final the clipmenu is provided by dmenu or rofi (in my configuration case). It is necessary to add keybinding to call clipmenu command.
Awesomewm is using this settings:
    awful.key({ modkey,           }, "a", function () awful.spawn("clipmenu") end,
              {description = "clipboard history by rofi/clipmenud", group = "awesome"}),